Usage guide
This is the full flow to get started with Vulinder. Follow sign up -> log in -> register your first service and scan, in order, and you will reach your first security analysis results. Use the table of contents on the right to jump to any step.
Sign up
You can sign up for Vulinder directly with email, or with a Google · GitHub account.
Sign up with email
- On the [Sign up] screen, enter your name, email, and password.
- A verification email is sent to the address you entered. Enter the 8-digit code from the email to confirm ownership and complete sign-up.
- Once verified, you are taken to the [Sign in] screen. Sign in with the account you just created.
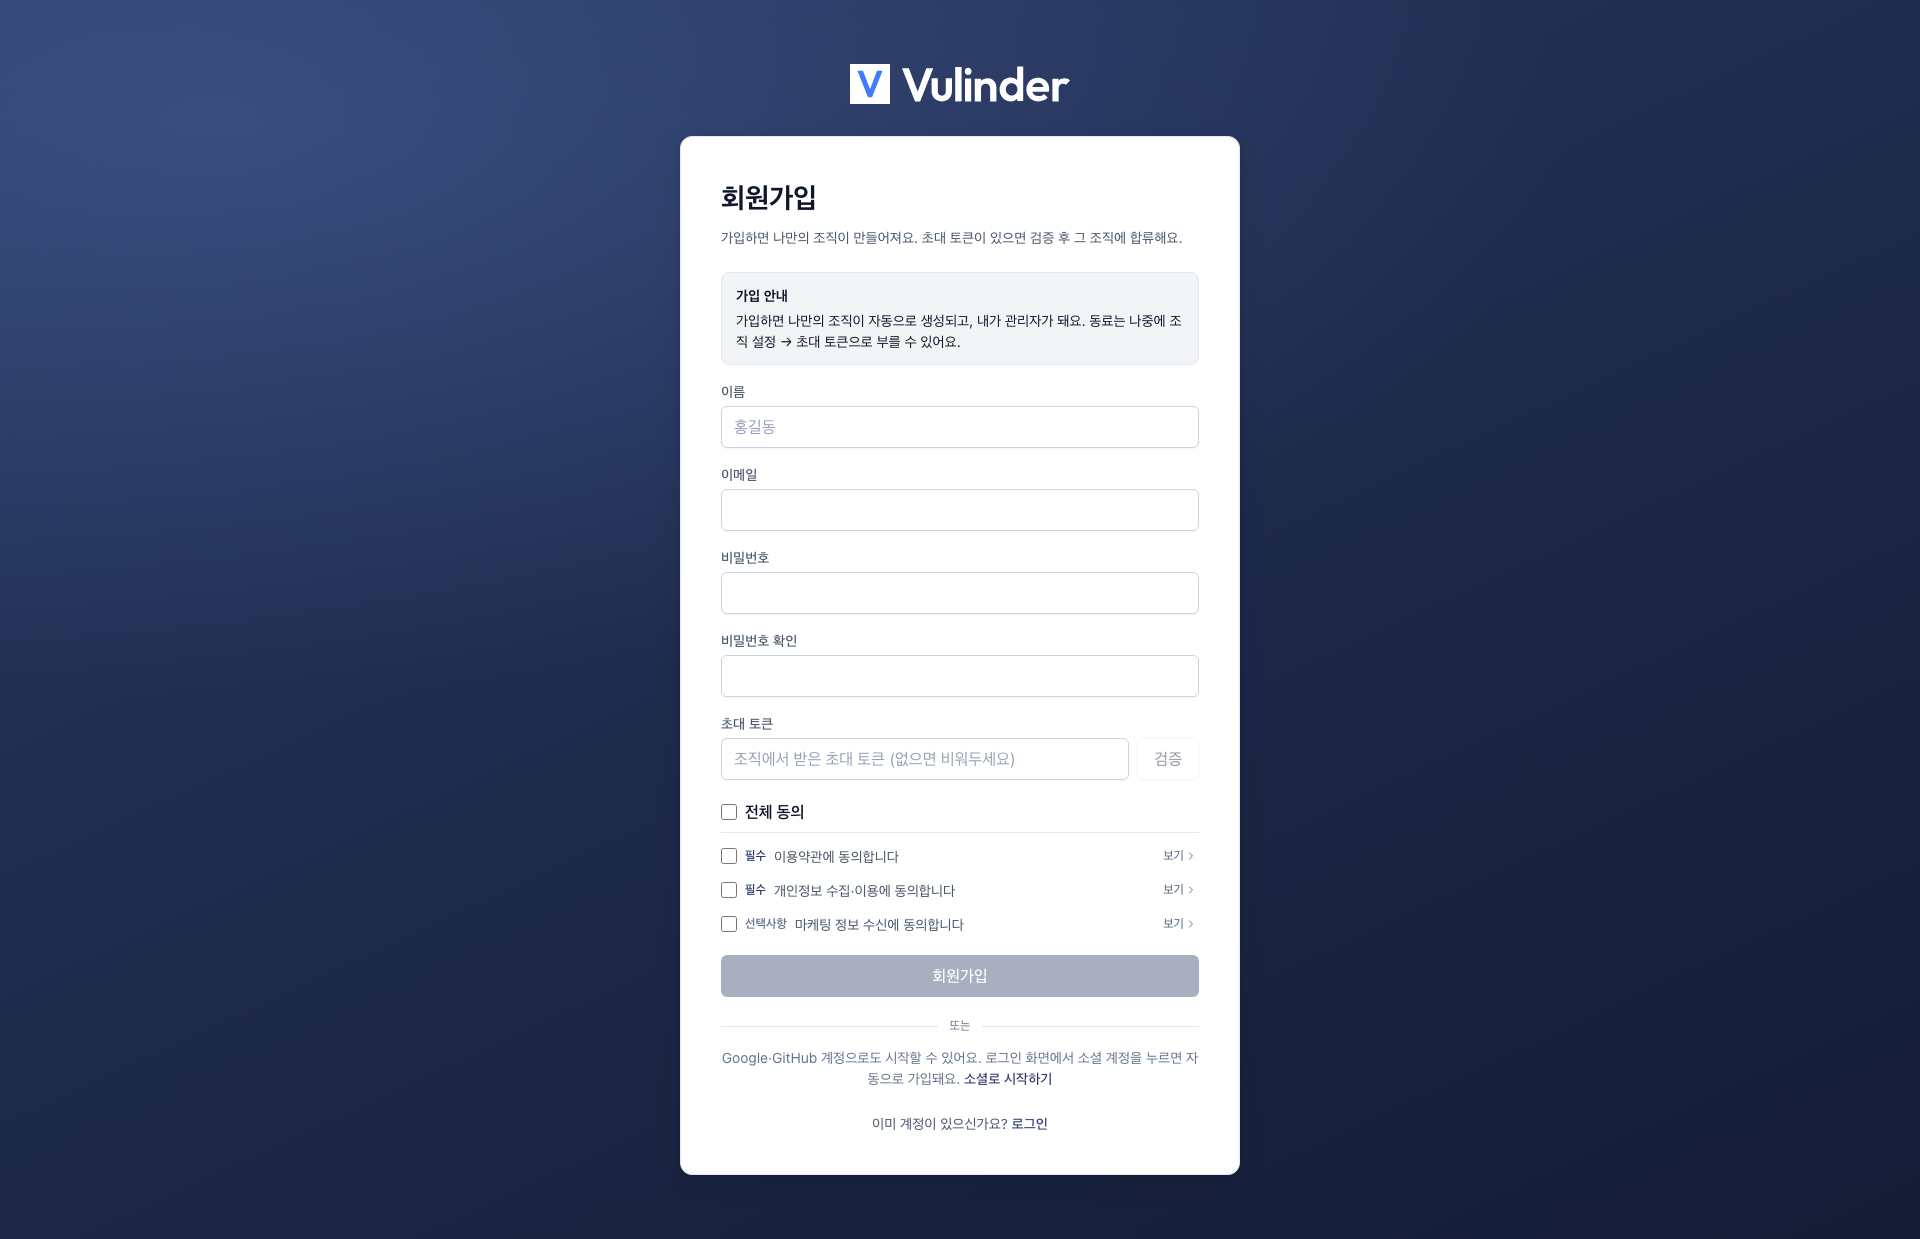
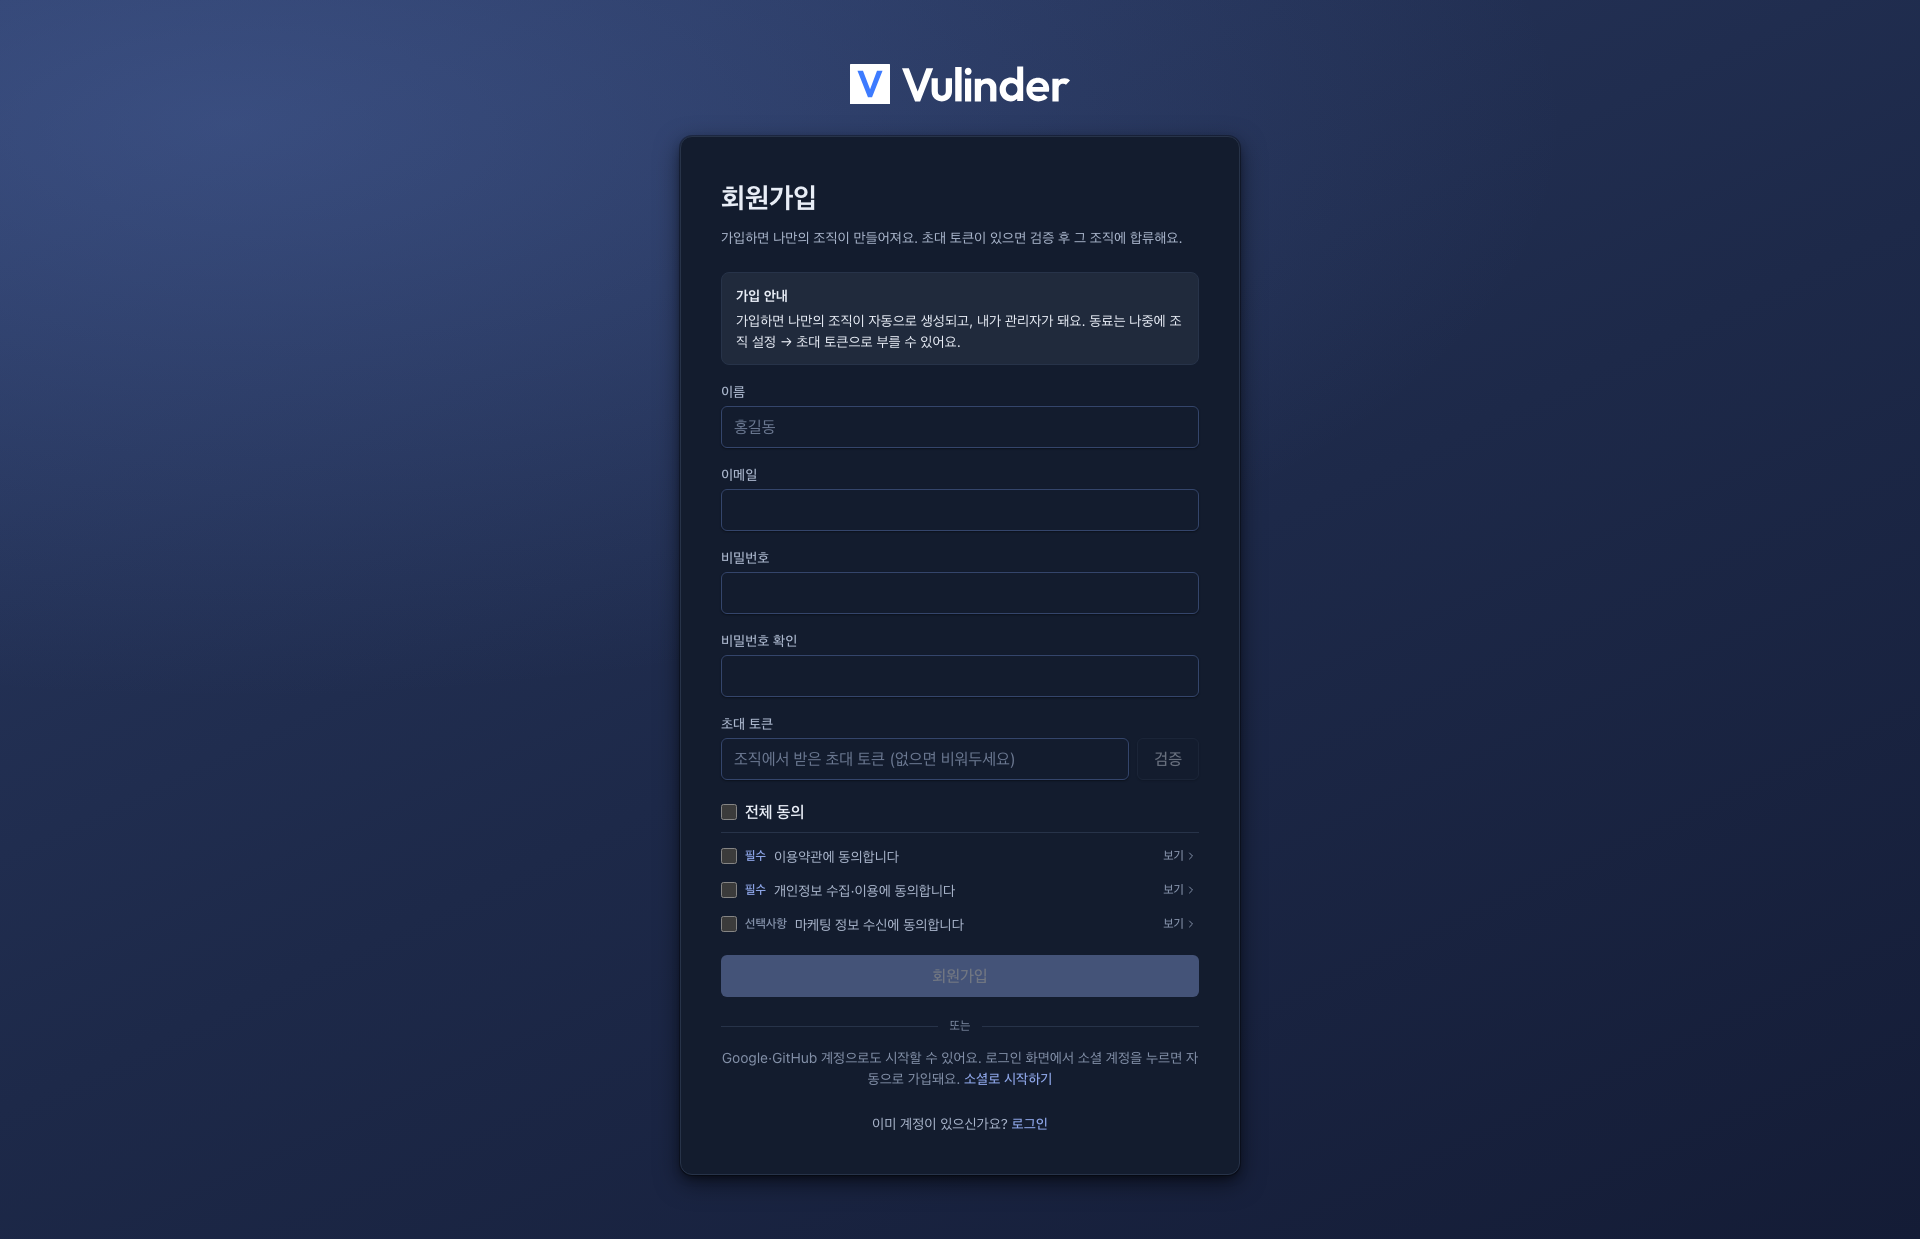
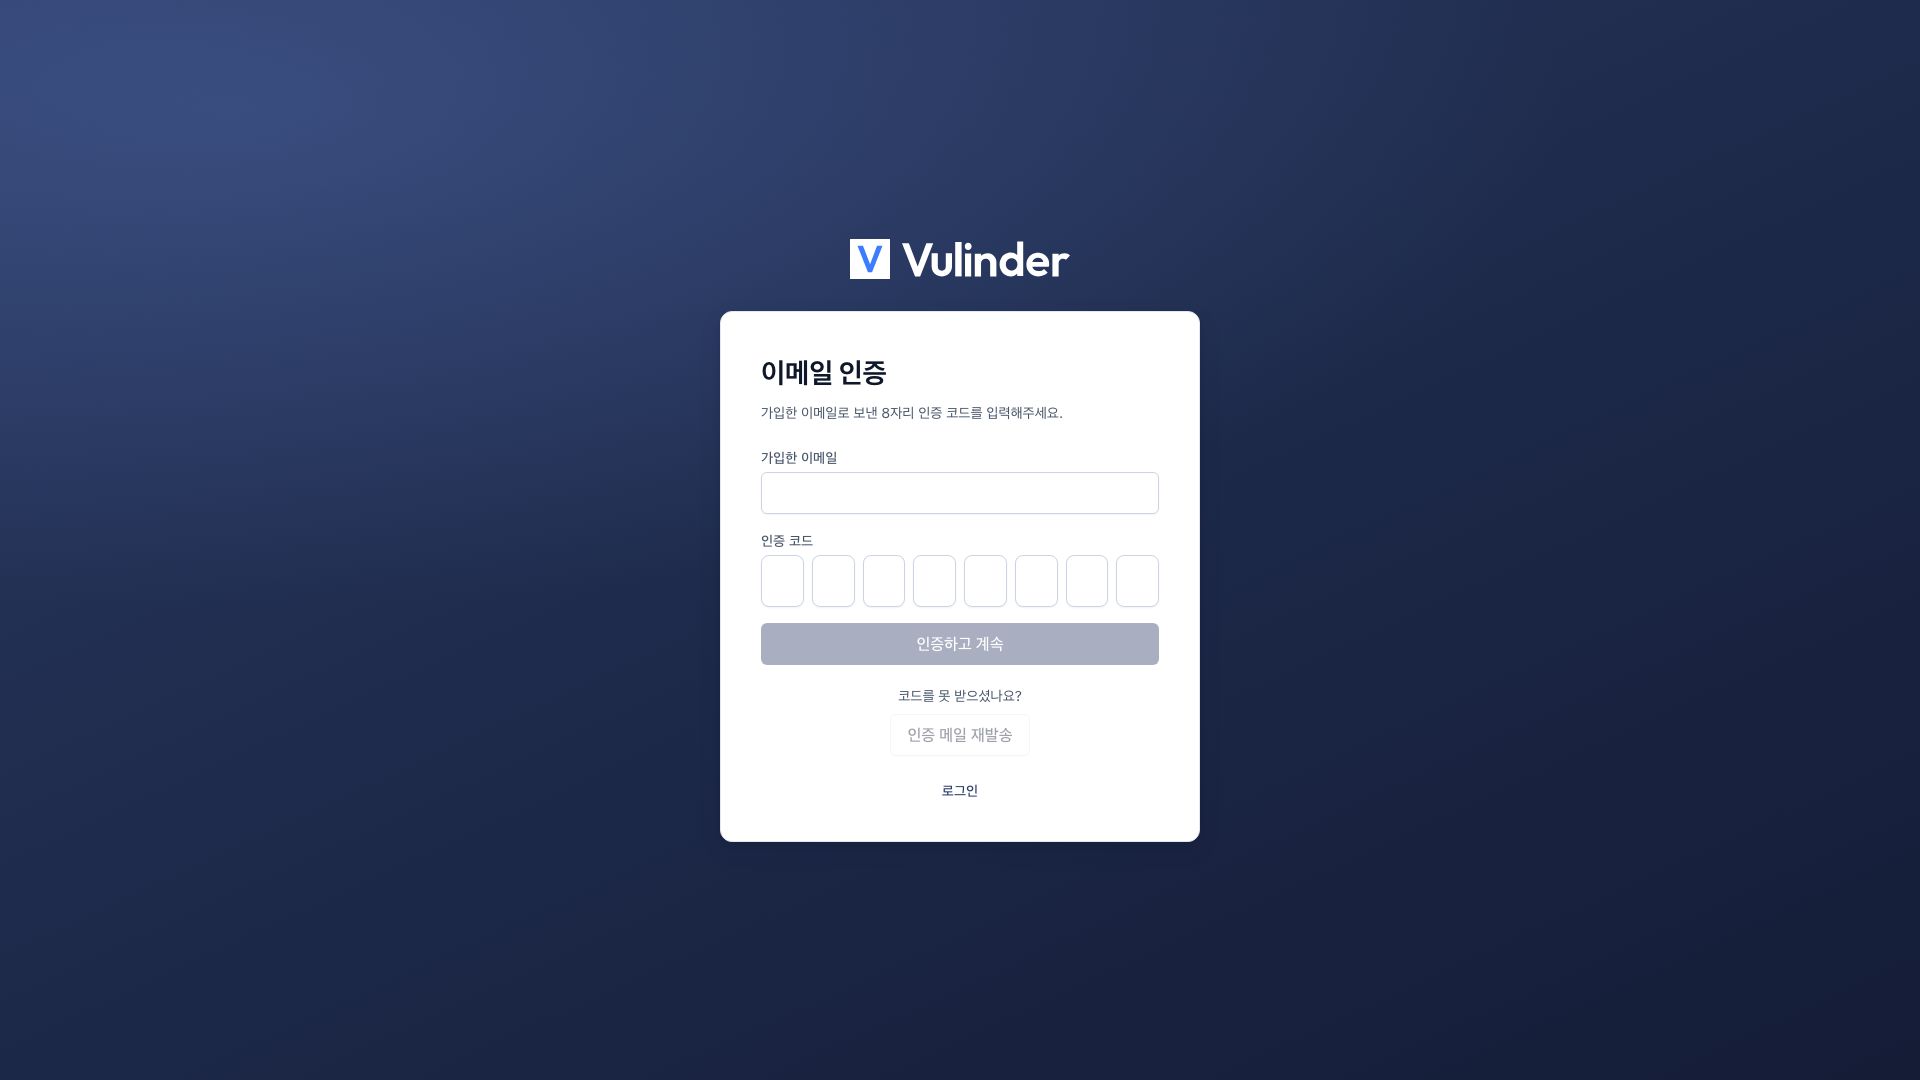
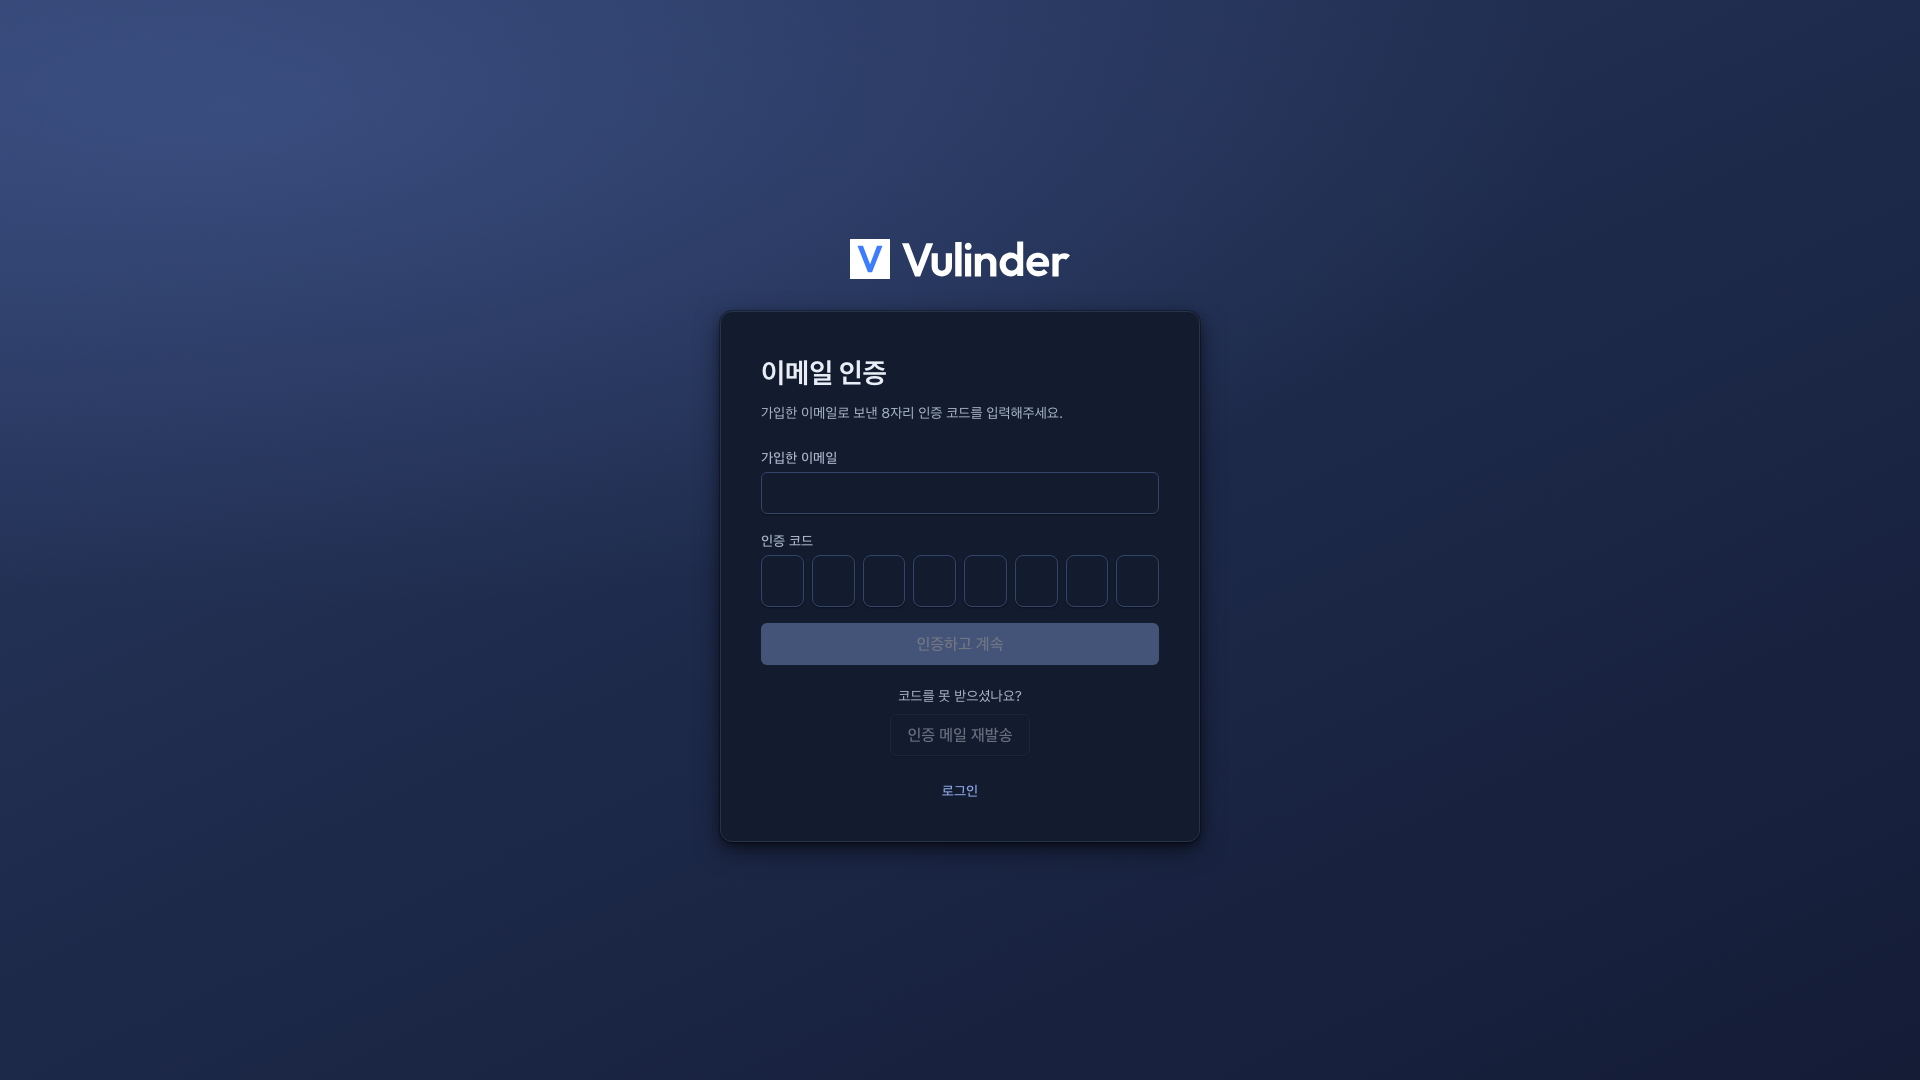
Email is the single identity key for your account. Once verified, you are not asked to verify again on later logins. If the verification email does not arrive, check your spam folder or request a resend.
Sign up with a social account (Google · GitHub)
Press a social button on the login / sign-up screen to authenticate with Google or GitHub. If the email is new, you finish sign-up by entering your name, an invite token (optional), and agreeing to the required terms.
- Social accounts already have a verified email, so no separate email verification is needed.
- If an account signed up with the same email already exists, the first time you log in with a social account you link them on the Link account screen by entering your existing password once. After linking, it is the same account no matter how you enter.
Your organization is created automatically
Vulinder manages all data at the organization level. When you finish signing up (email verification or social sign-up), an organization is created for you automatically, and you become its administrator.
There is no separate screen to create an organization. You can invite teammates later. (Members and Roles)
Instead of creating a new organization, you can join by invitation. Enter the invite token you received from an administrator on the sign-up screen, and you join that organization as a member instead of creating a new one.
Log in
Once you have signed up, log in with your email and password or with a social account.
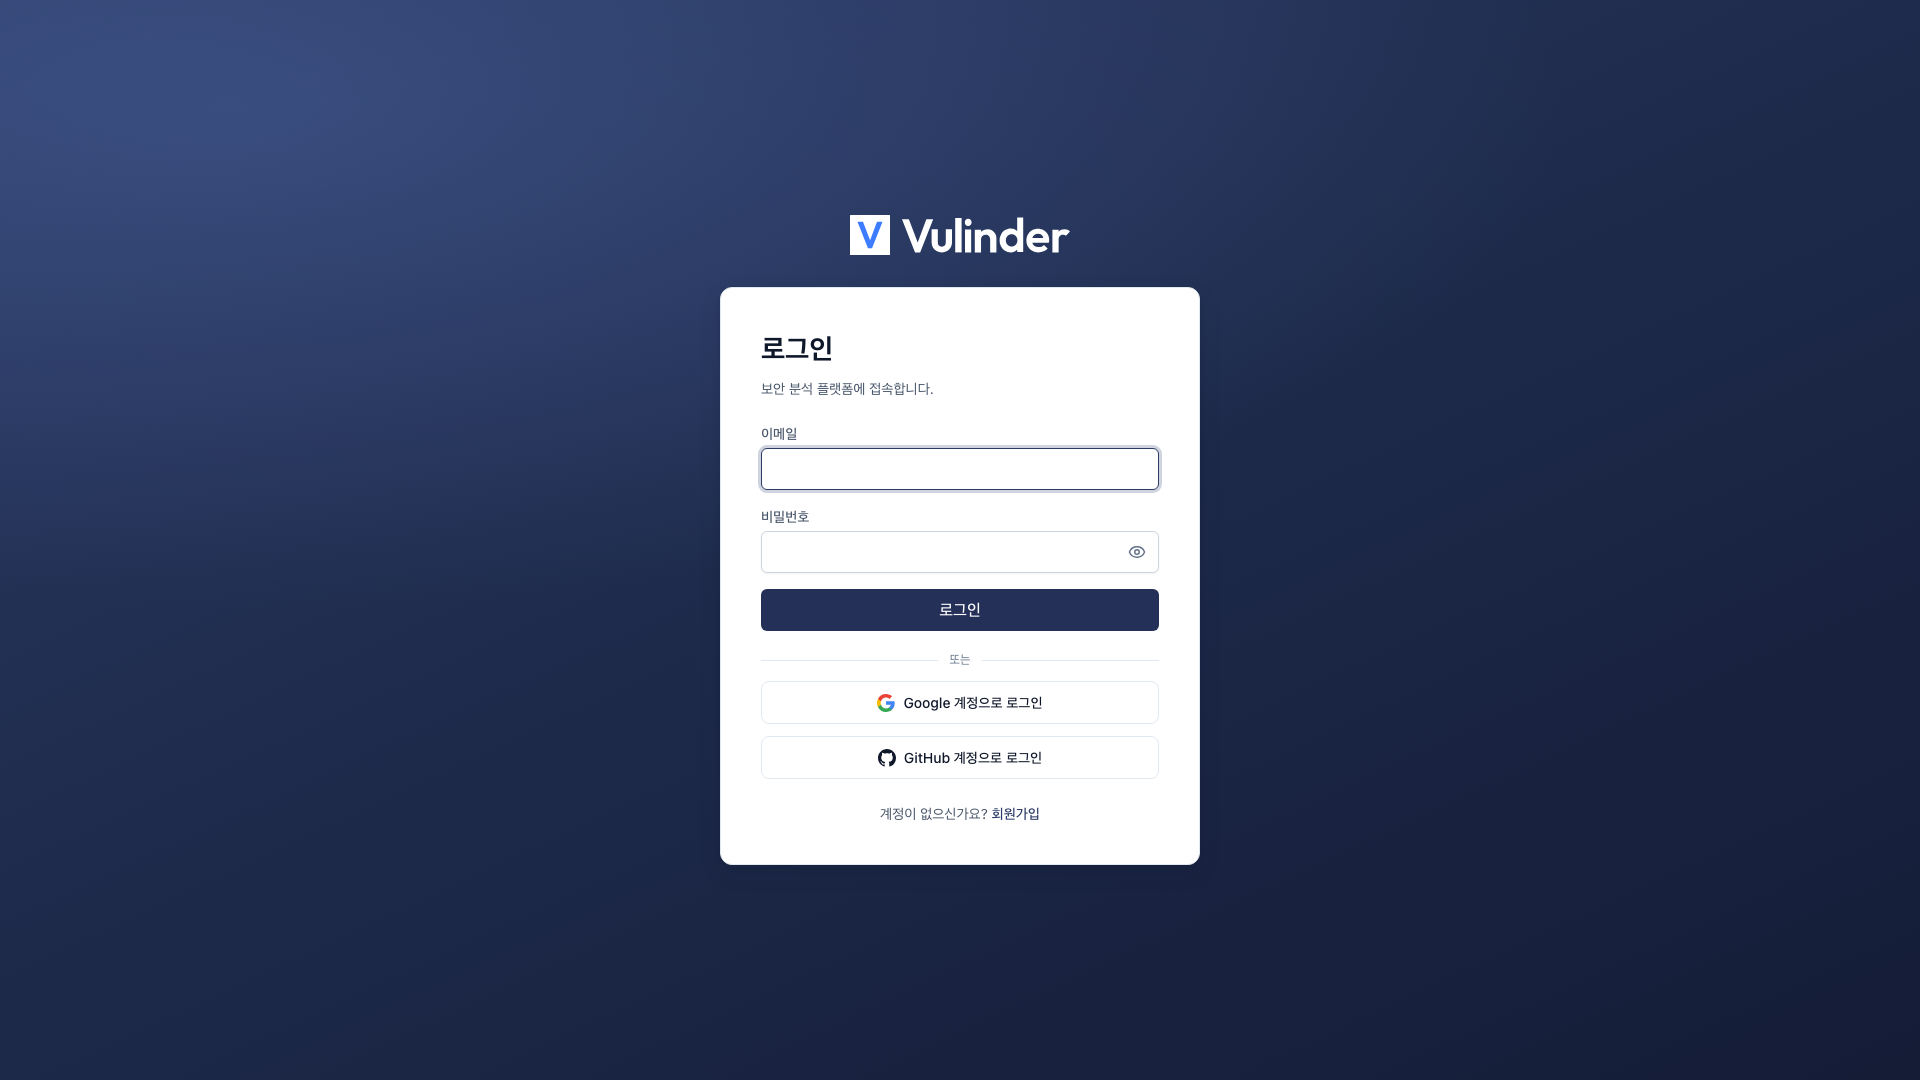
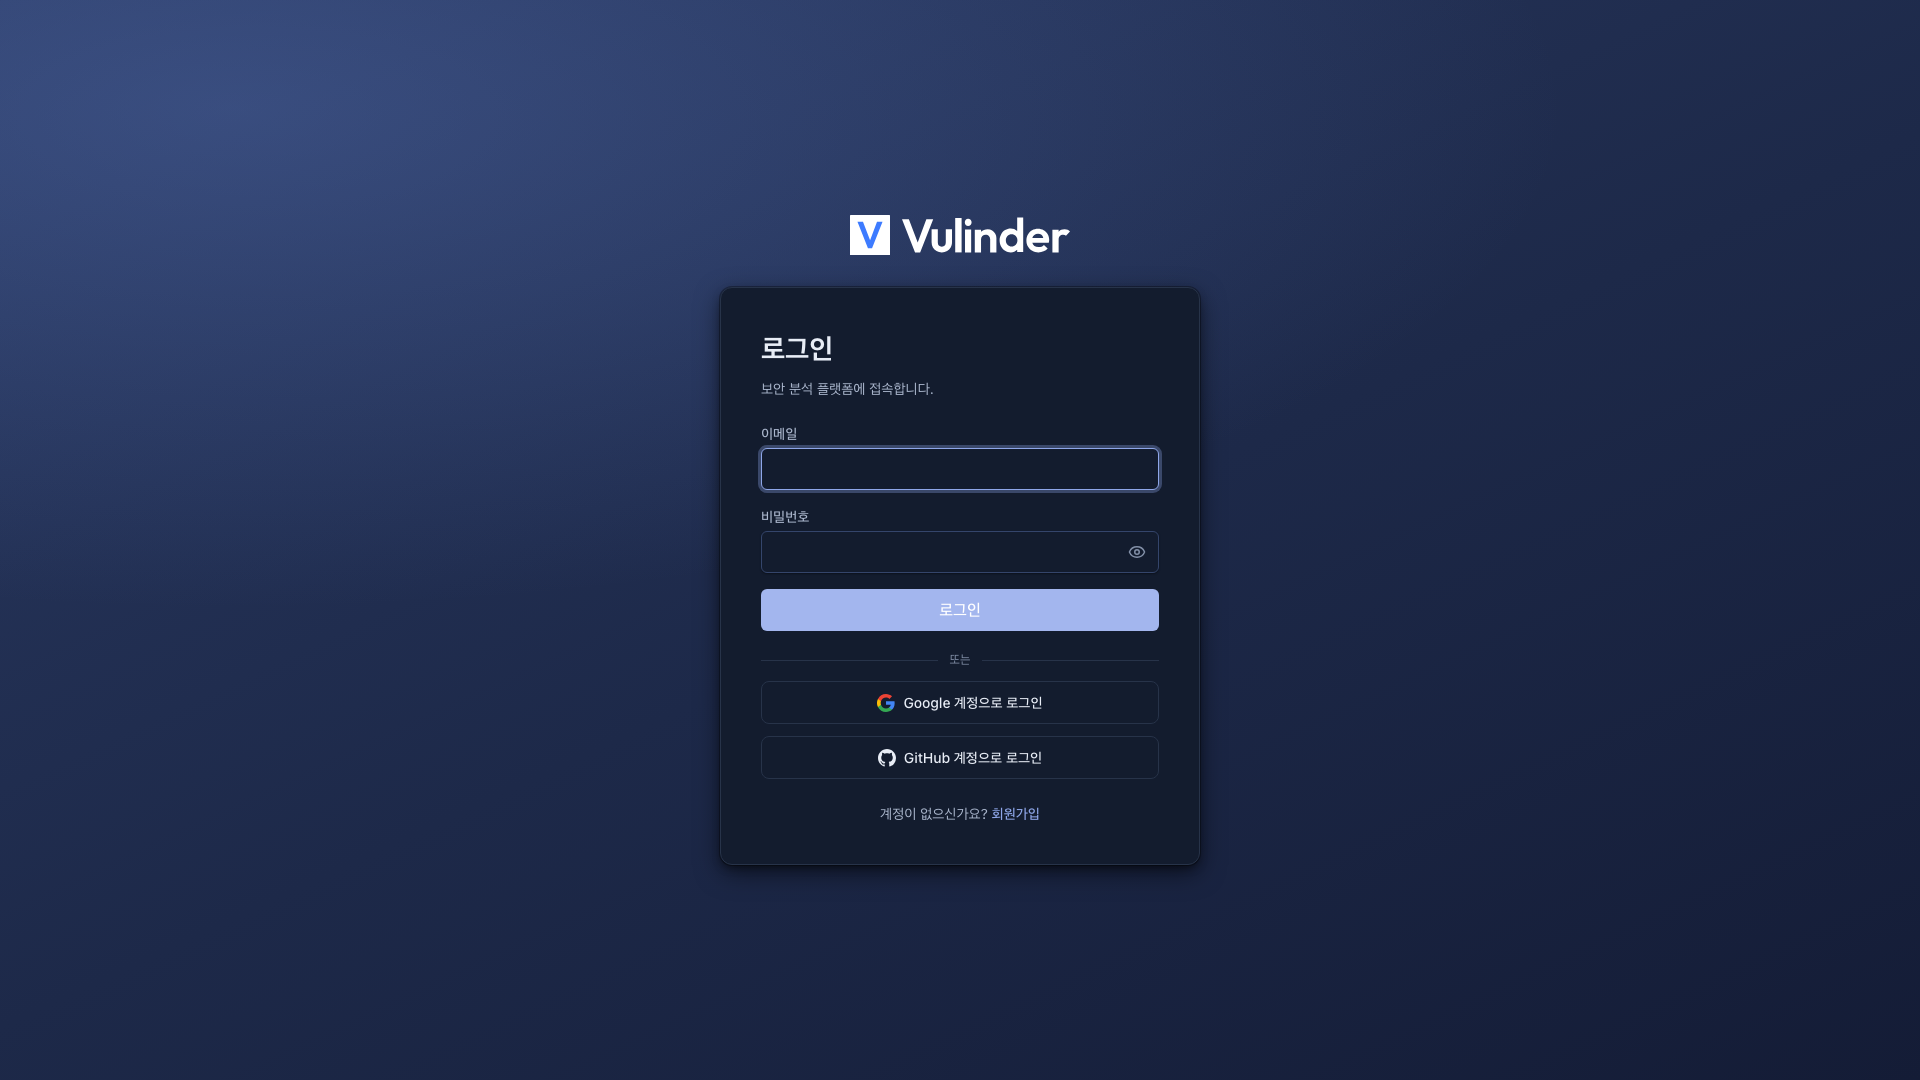
Log in with email
Enter the email and password you used to sign up. Email verification is required only once, so you are not asked to verify again on later logins.
Login is blocked for an unverified email, and a resend verification email prompt appears. Confirm your email with the code in the message, then log in again.
Social login (Google · GitHub)
Press the social button on the login screen to authenticate with Google or GitHub and come straight in. If an email sign-up account with the same email exists, you link it once by entering your existing password the first time; after that, it is the same account no matter how you enter.
After logging in
- When you log in, you land on the organization [Unified dashboard].
- If you have no services registered on your first login, the Register a service wizard below opens automatically.
- Once you complete or leave the wizard, it does not open automatically again.
- Change your name, theme (system / light / dark), language, and password in Account settings.
Register a service
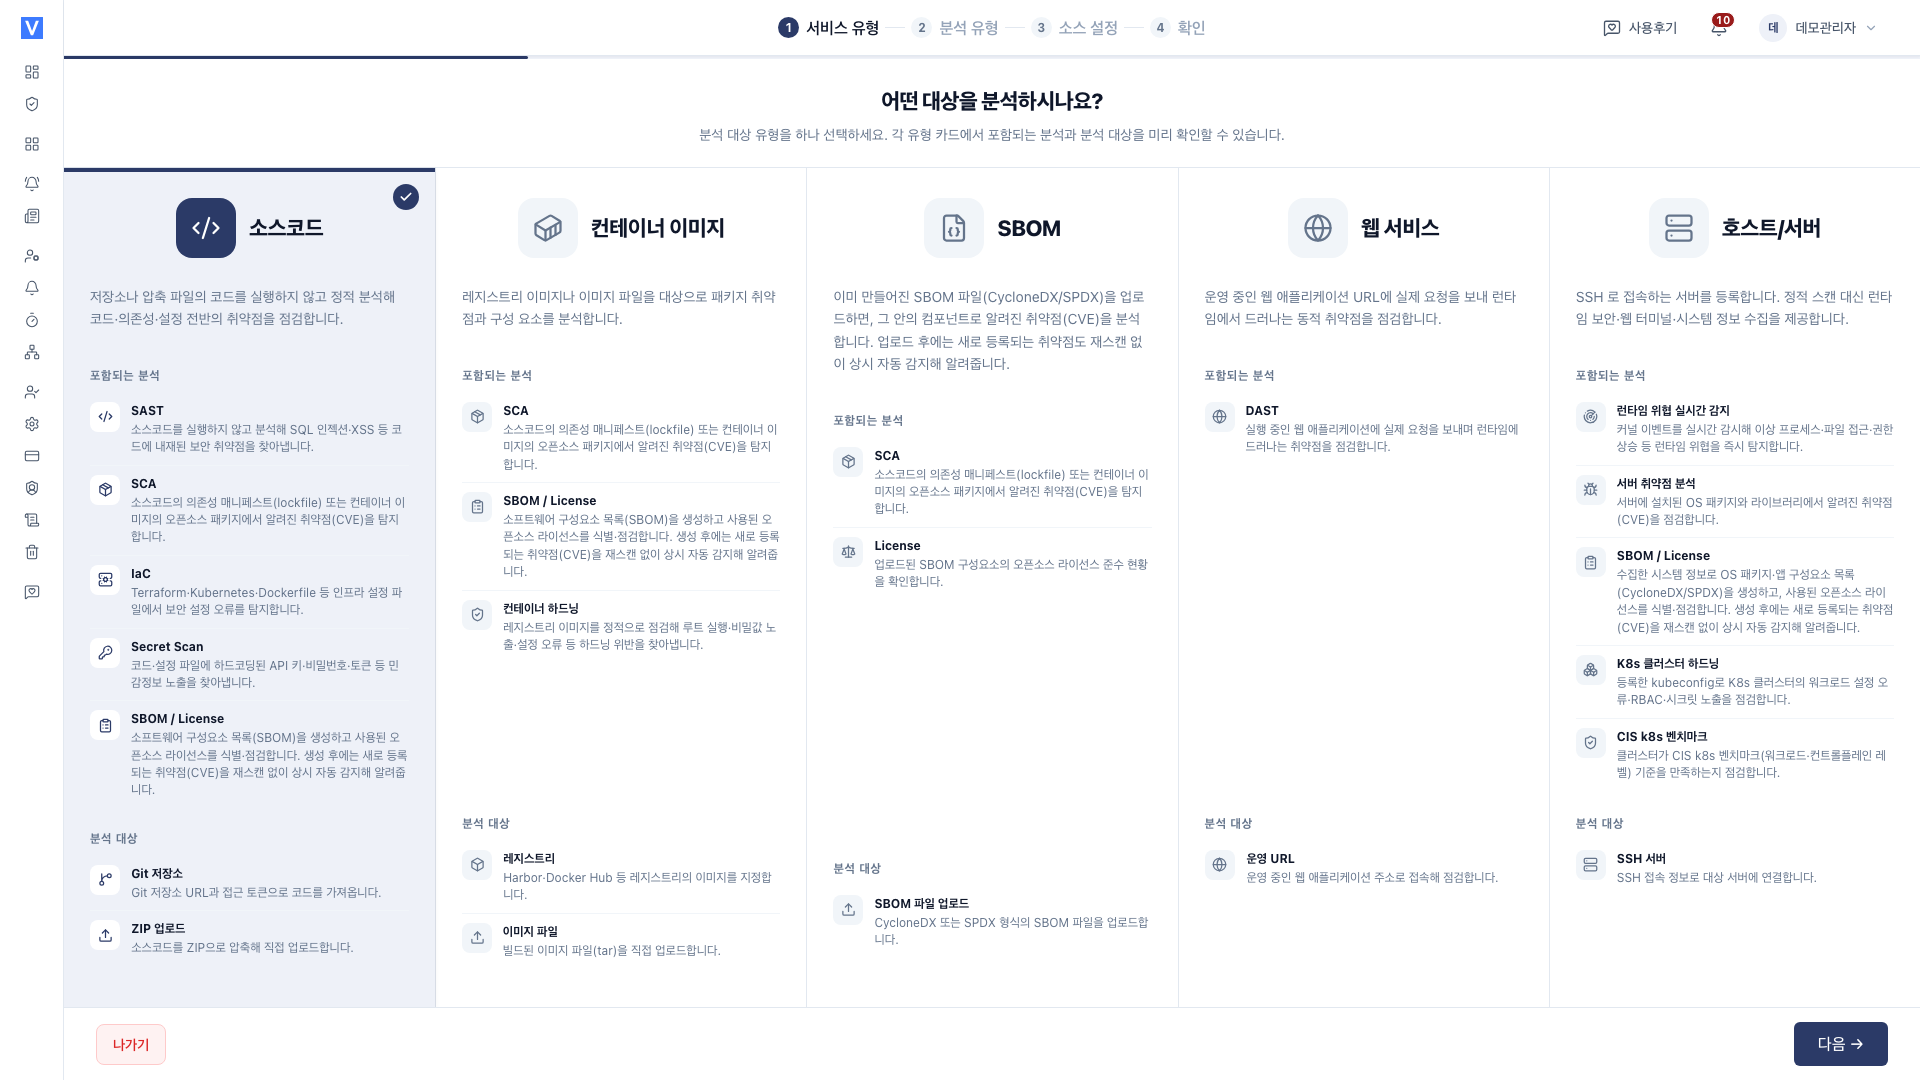
The flow from registering your first service after logging in to seeing your first security analysis results. There are six service types: Source code, Container image, SBOM, Binary File, Web service, and Host / Server.
The walkthrough below uses source code; see each type's page for how step 3 and analysis selection differ.
- Time required : About 10 minutes (excluding scan time)
- What you need : A logged-in account, the repository URL to analyze, and a read-only token
- Outcome : Your first list of vulnerabilities organized by severity, plus the organization dashboard
The service registration wizard
On your first login you have no services registered, so the service registration wizard opens automatically. After leaving the wizard, or to add more services later, start it again anytime from Register service on the [Services] page.
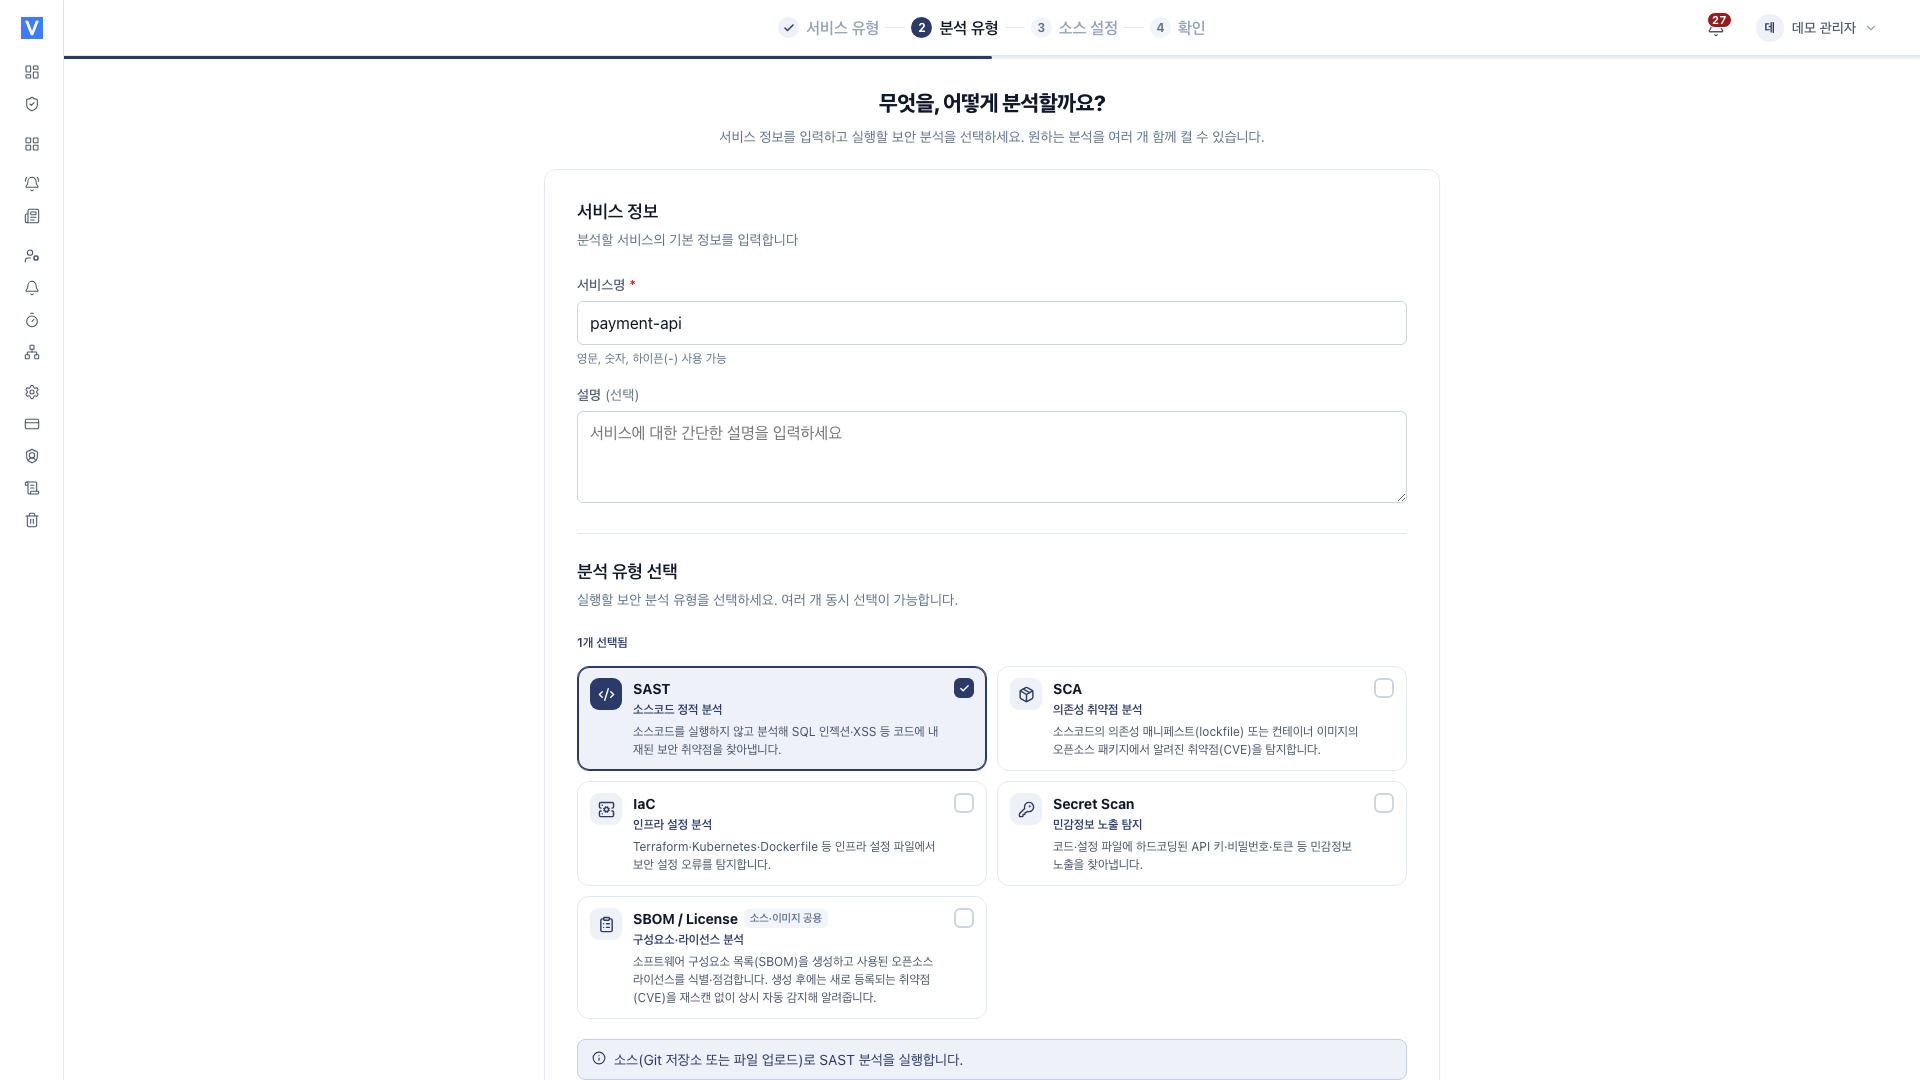
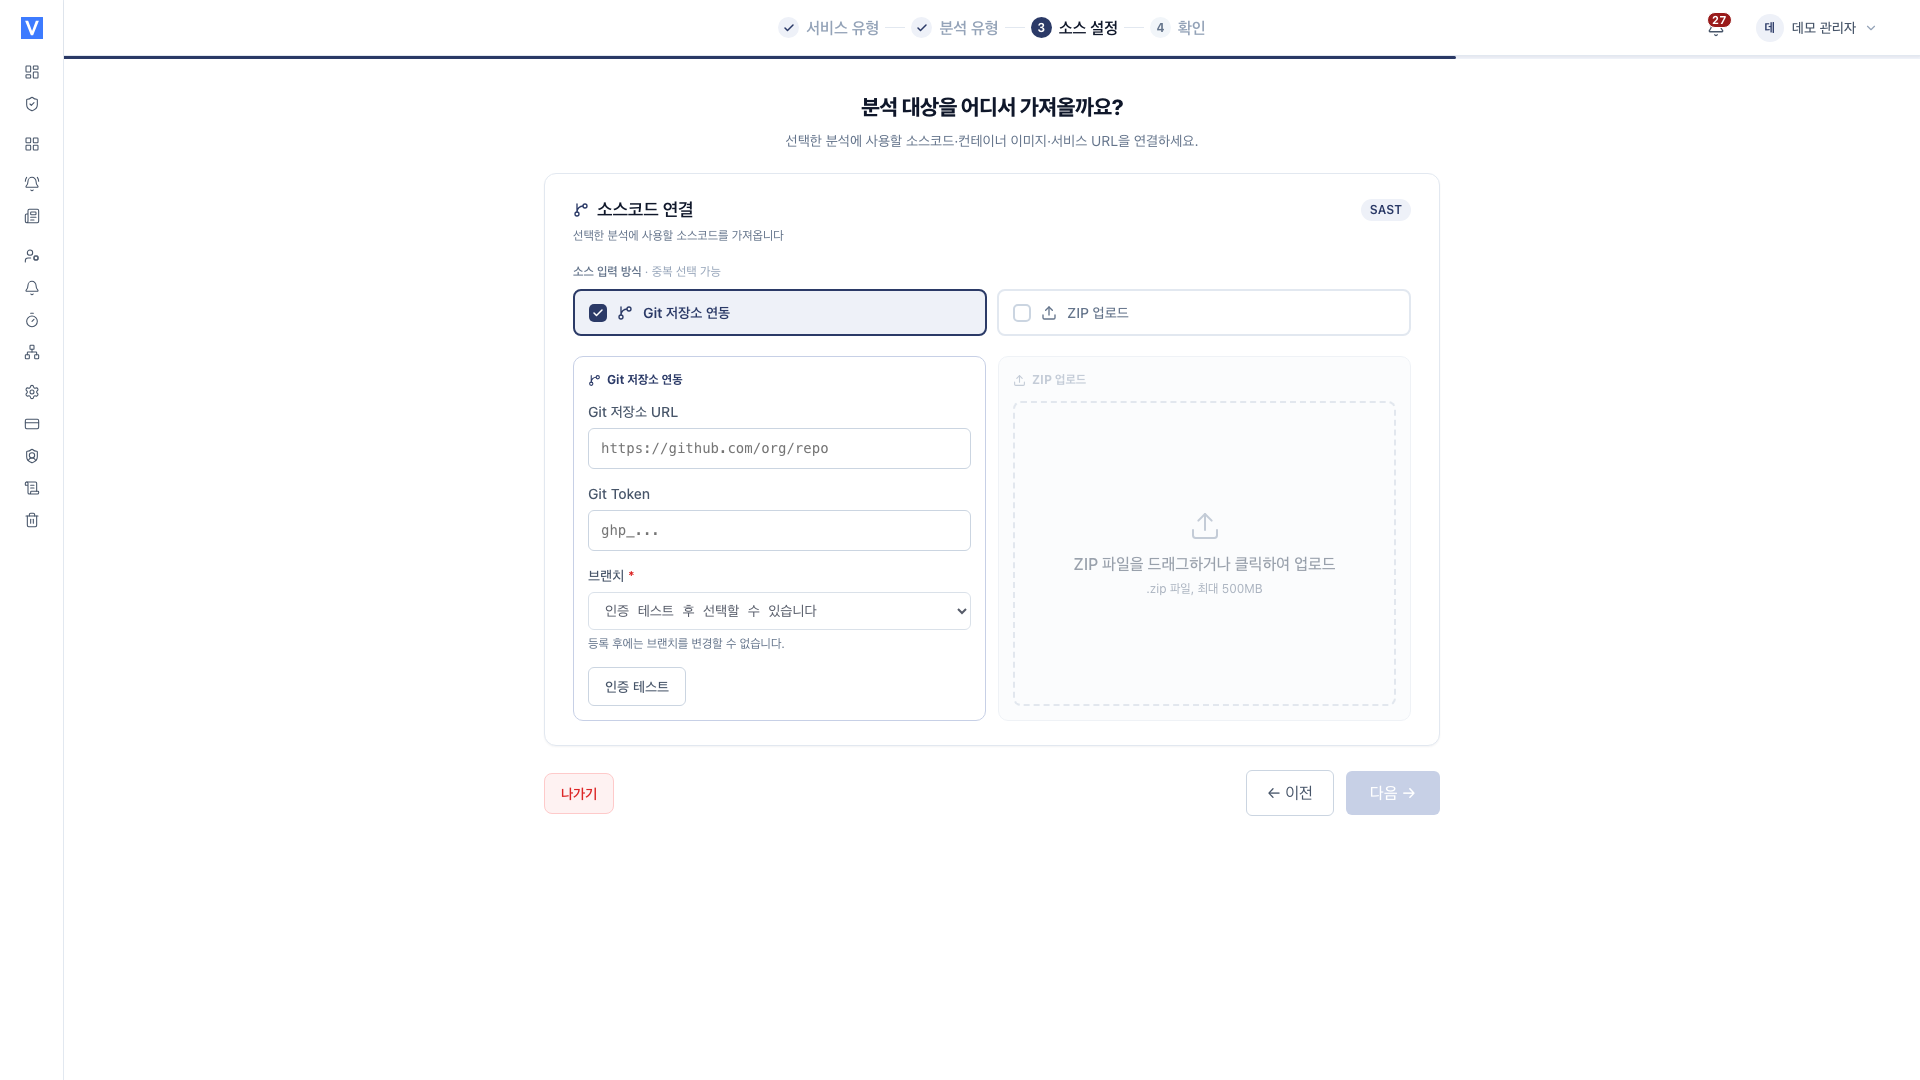
The wizard has four steps by default (Service type → Analysis types → step 3 → Review). Step 3 is named by type.
- Source setup : source code · container image · web service
- Host details : host/server
- SBOM file : SBOM
- Binary File : binary file
For a host/server, choosing K8s cluster hardening or CIS Kubernetes Benchmark adds a K8s auth step, for five steps in total.
Below we follow them one at a time using a source code service as an example.
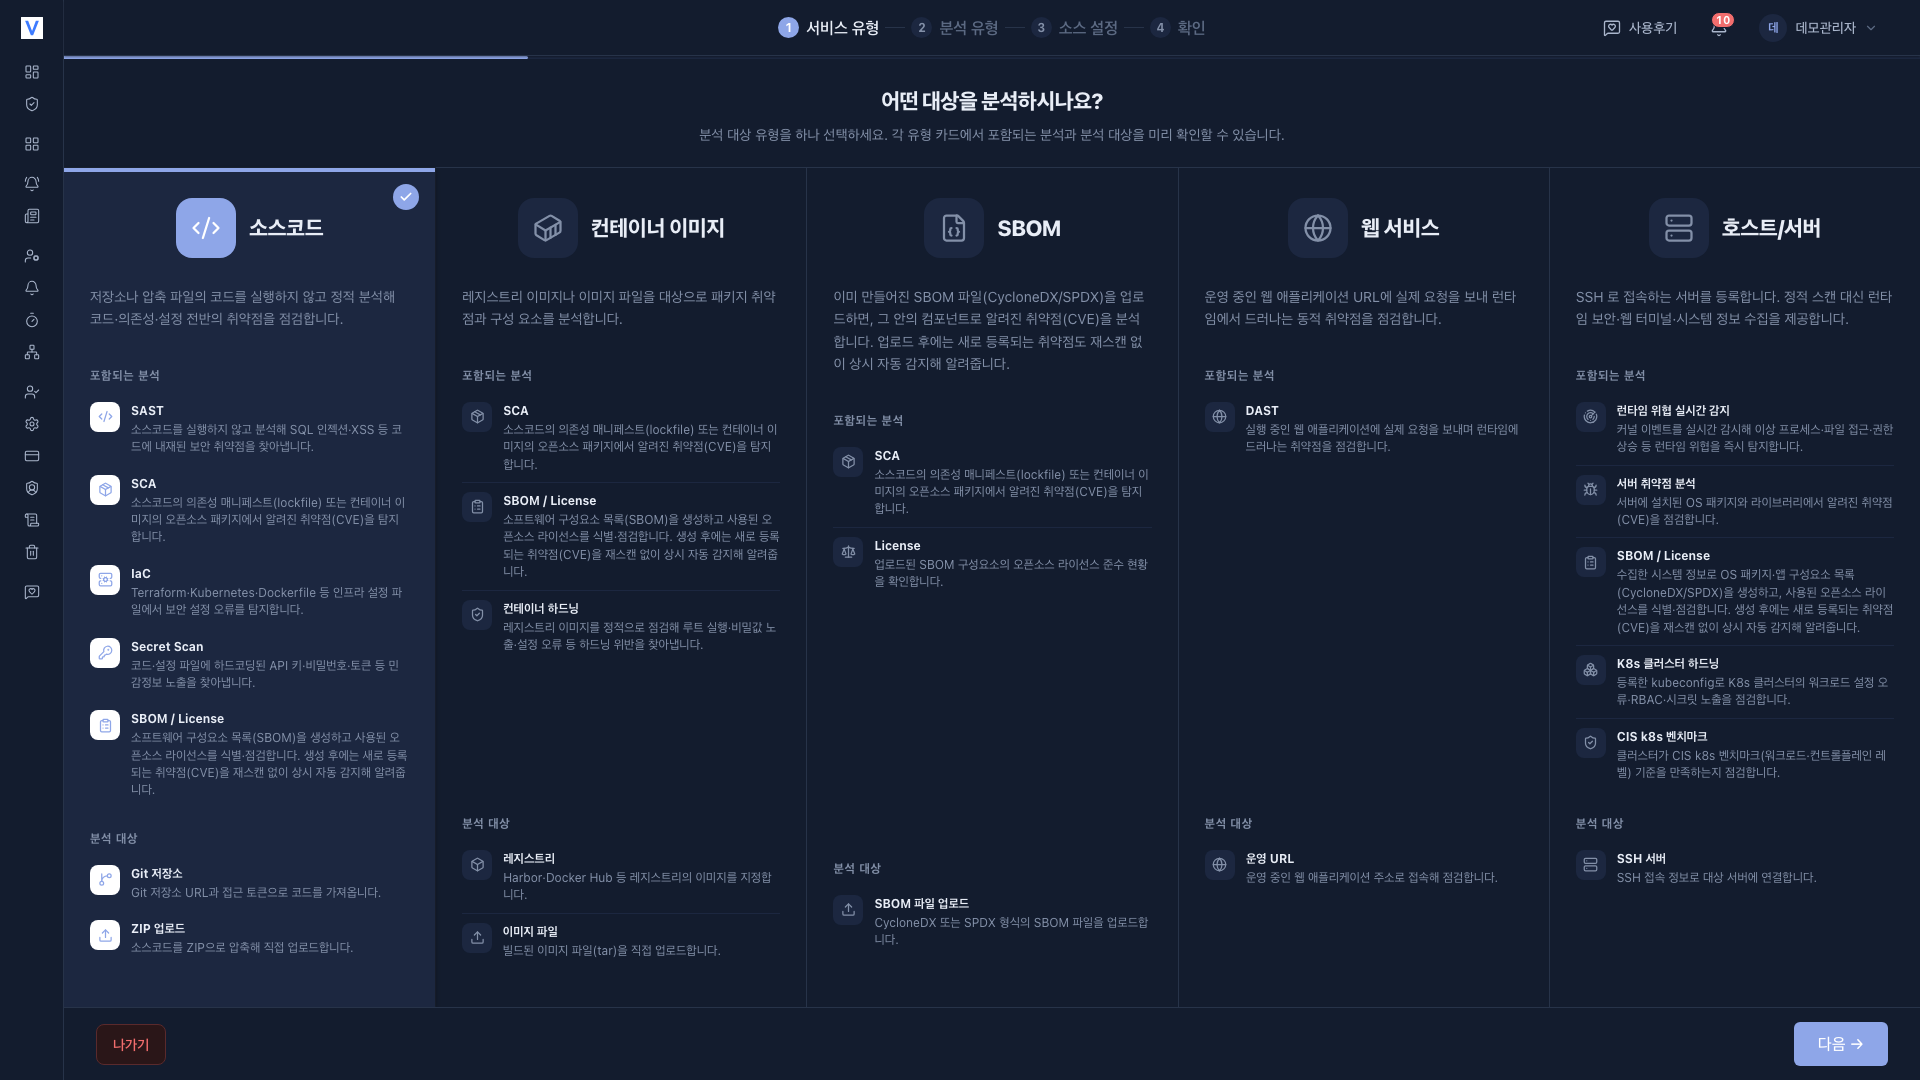
Step 1 · Service type
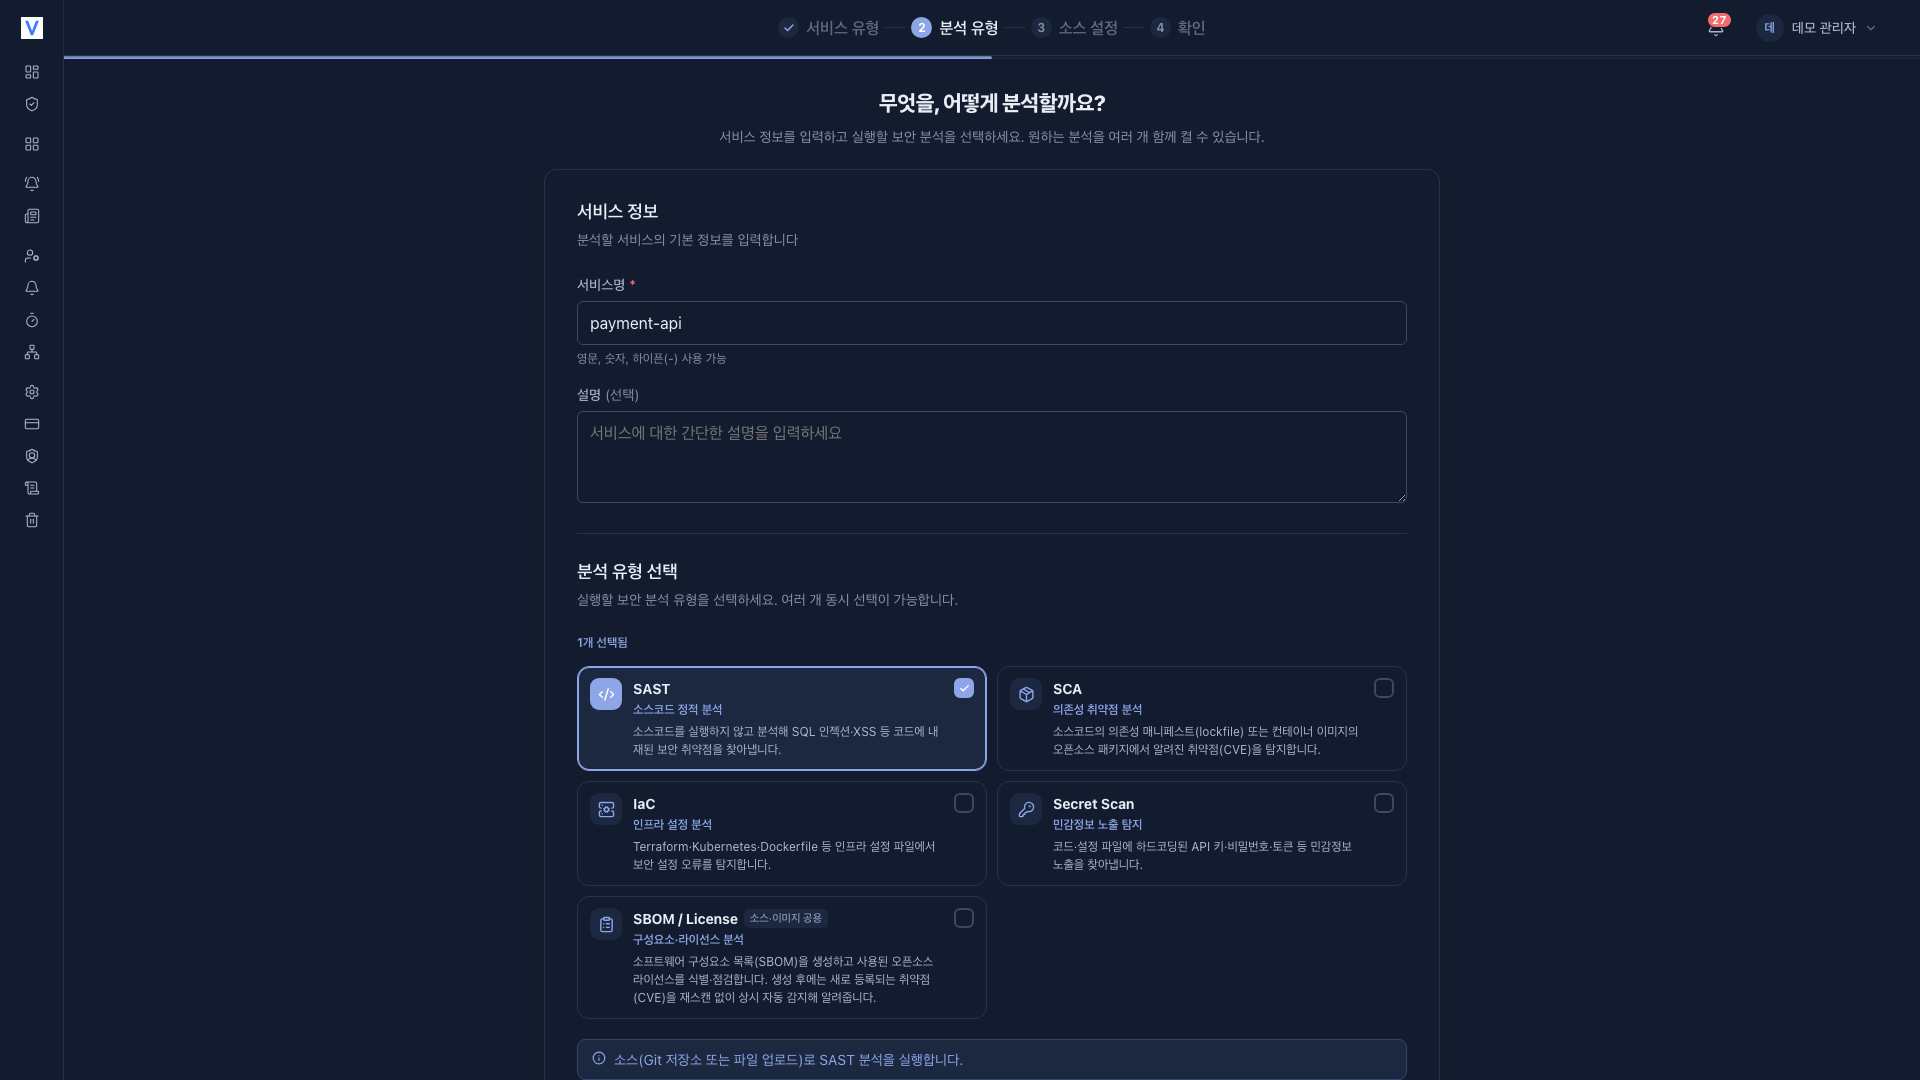
Step 2 · Analysis types
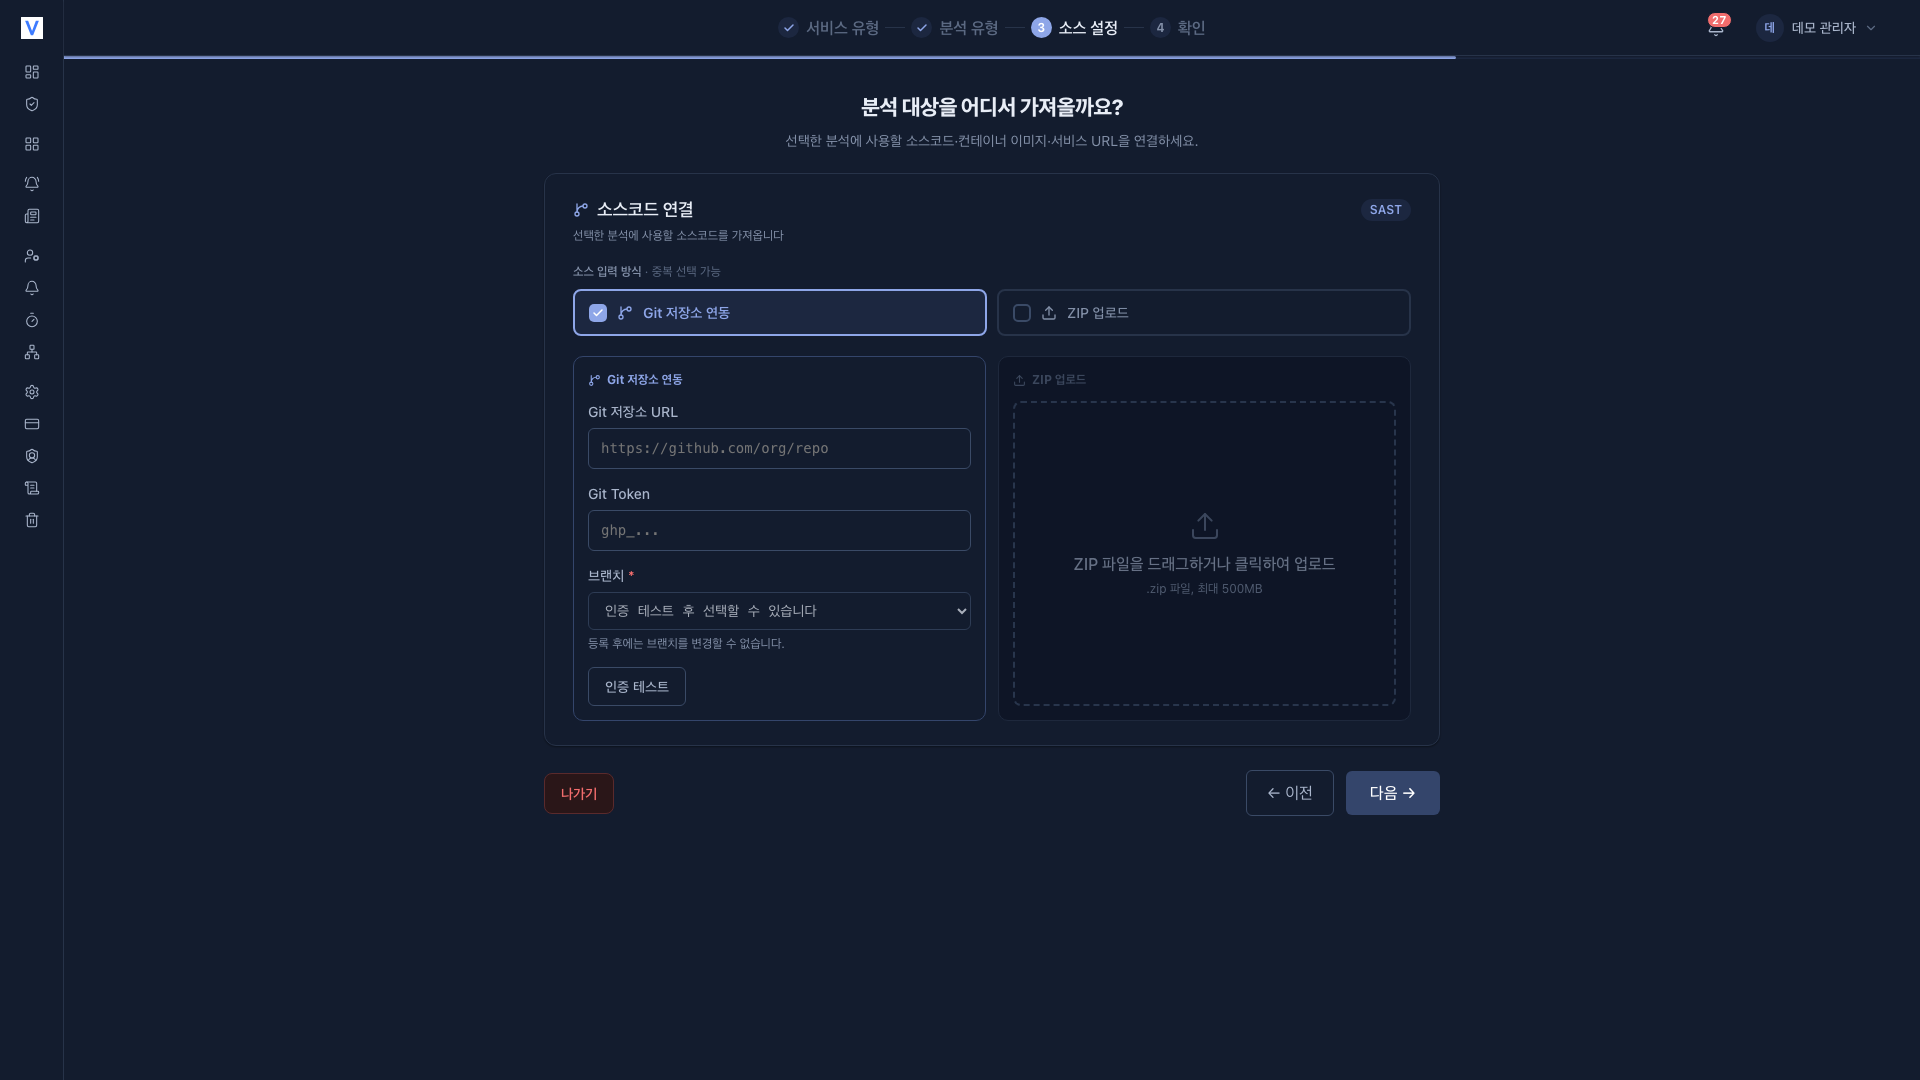
Step 3 · Source setup
Step 4 · Review
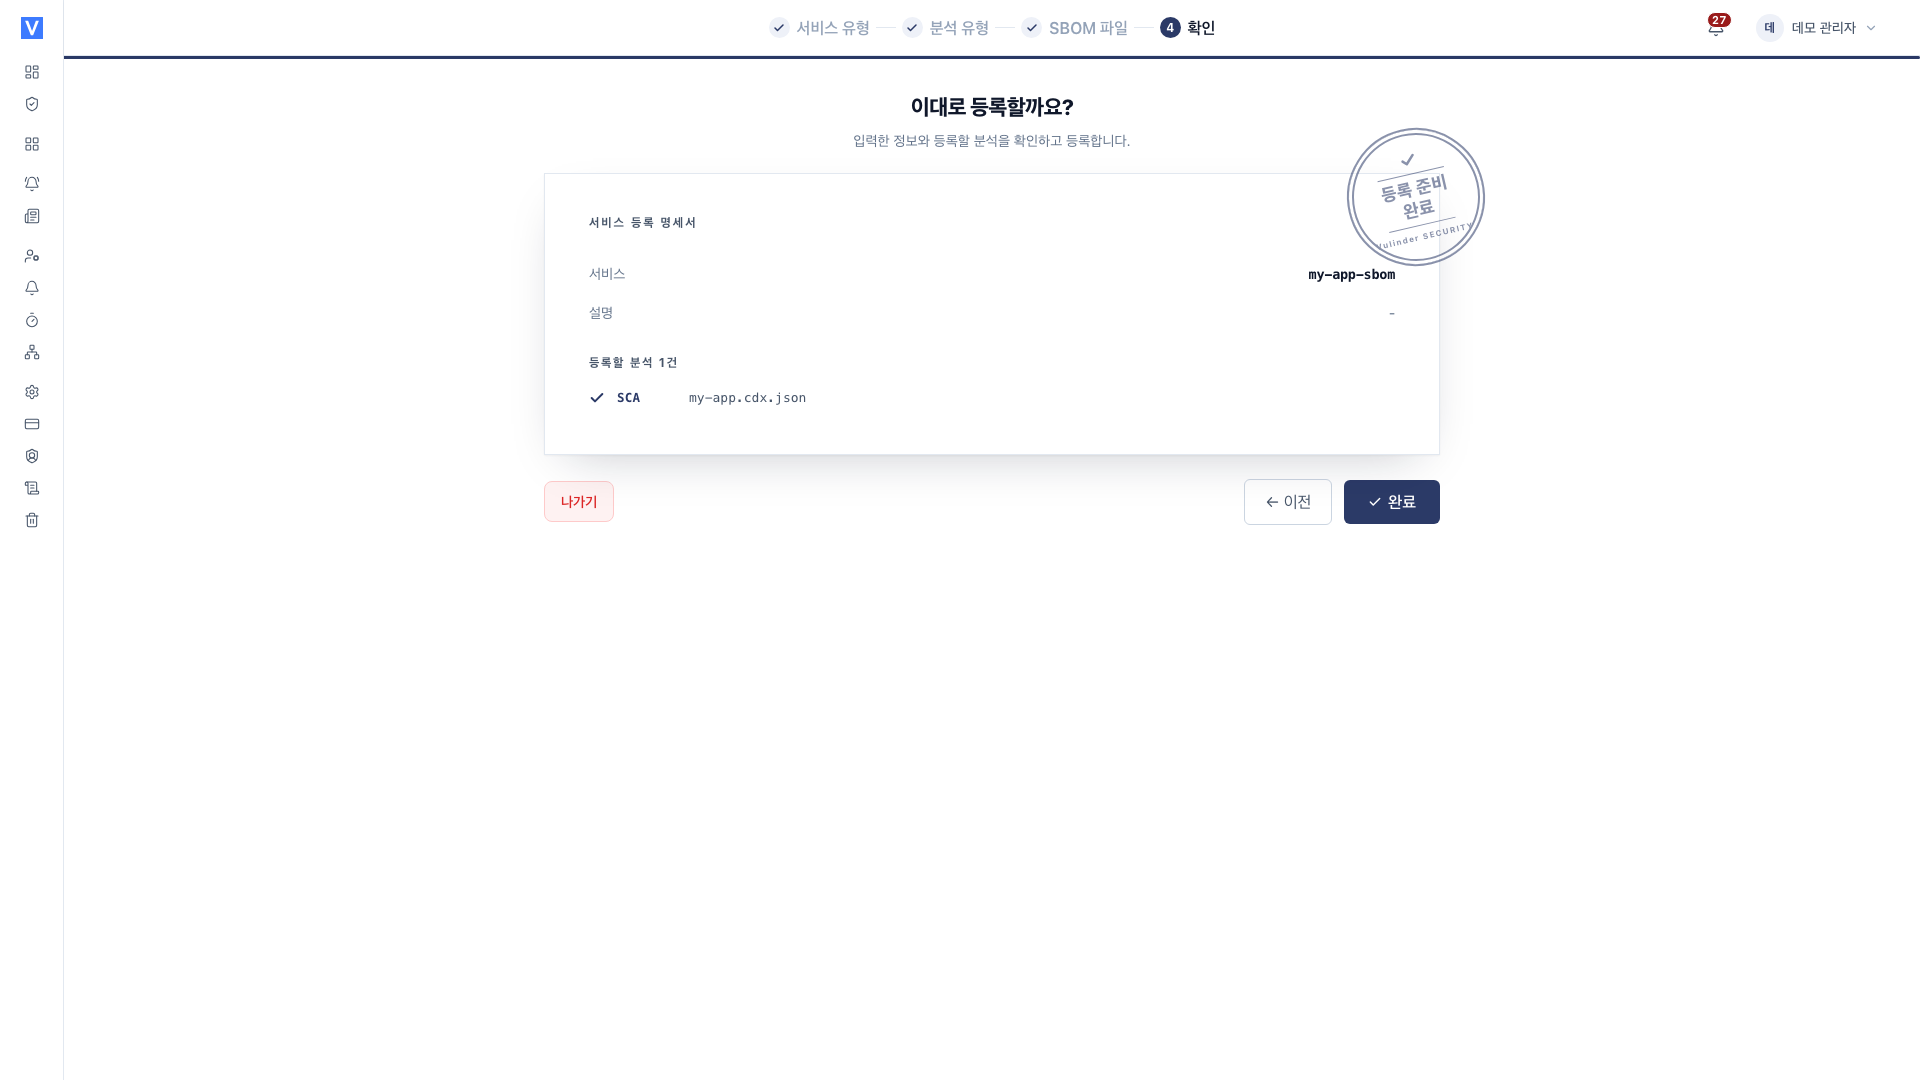
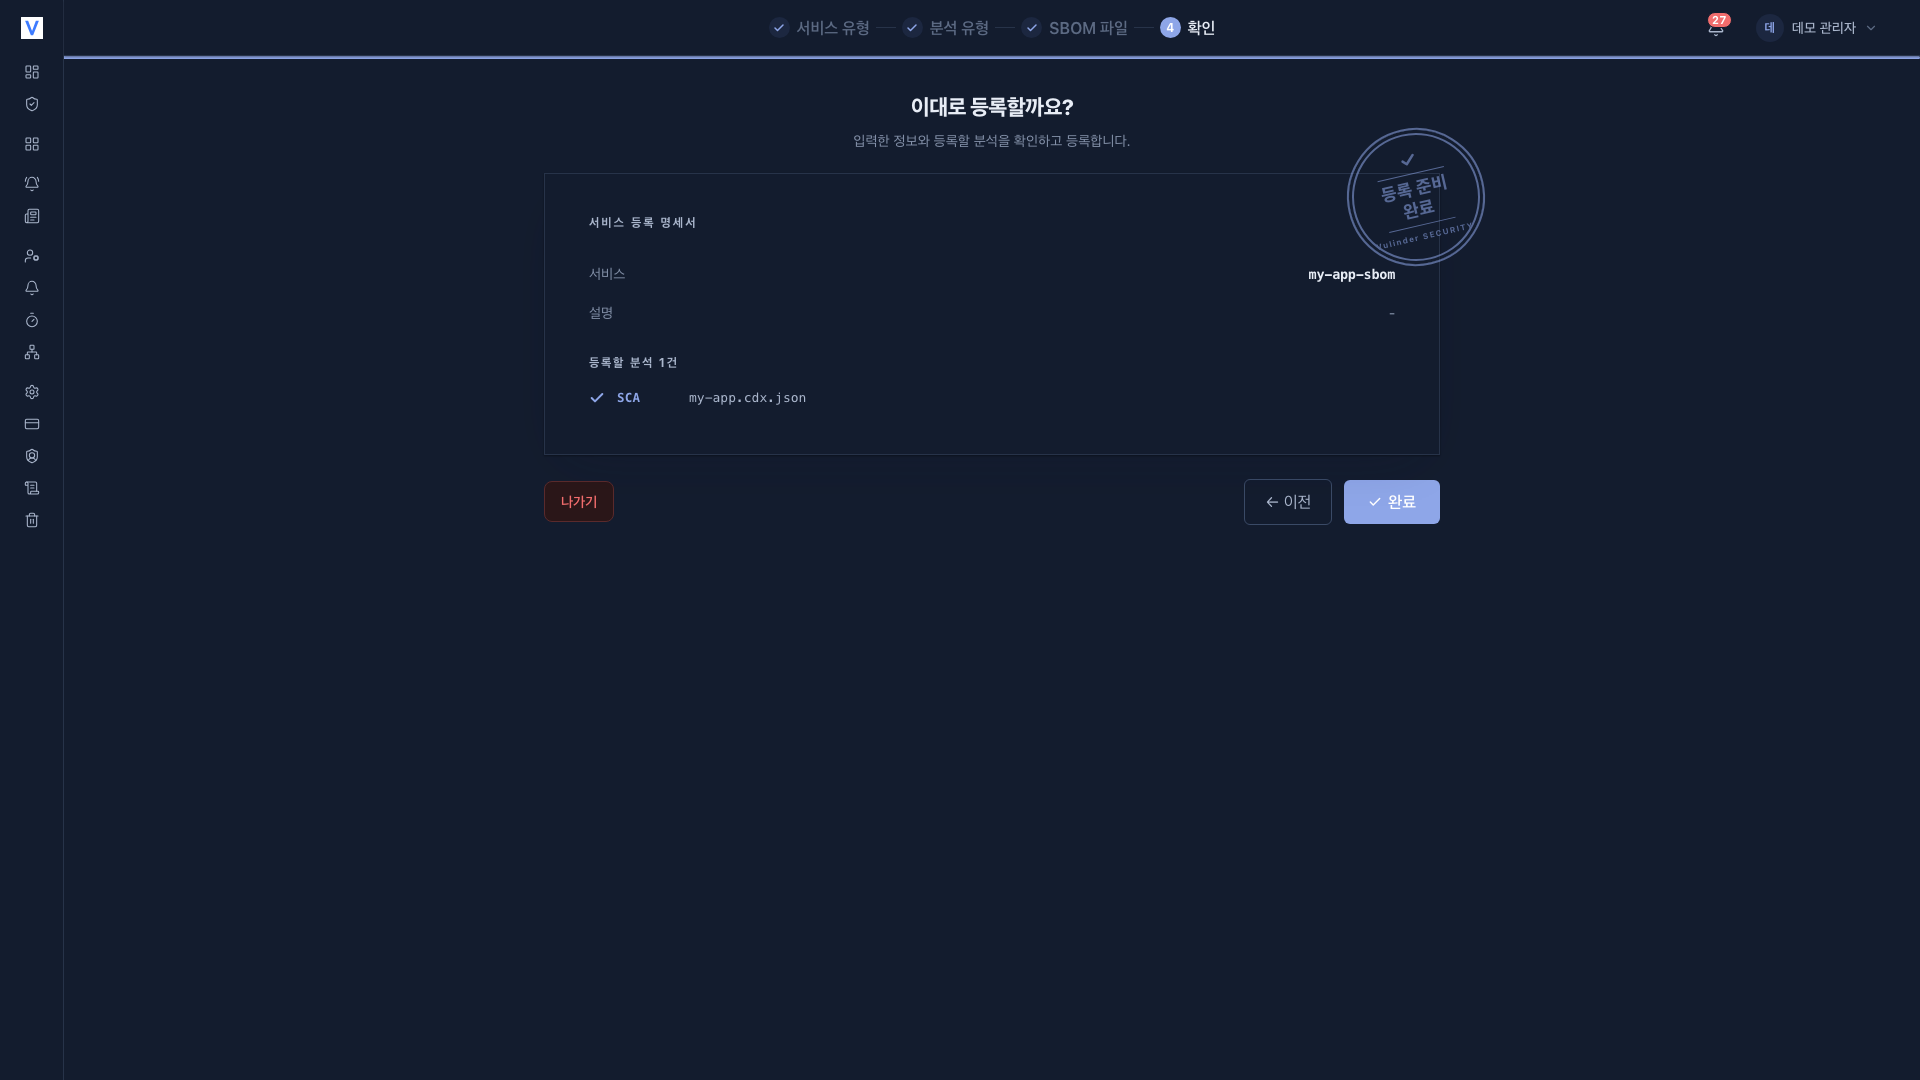
A repository token with read-only (read repository) permission is enough. Saved tokens are stored encrypted and shown masked on screen.
Run your first scan
Registration alone does not start a scan.
- When you finish registering, you move to the [Services] list.
- Open the service you just created.
- Press Run analysis at the top of each analysis tab to start the first scan.
From then on, you can automate runs with a scan schedule or CI integration.
- Scans run asynchronously, and you receive a notification when they finish. They keep running even if you close the window.
- While a scan runs, the Run analysis button changes to "Analyzing…" and a progress bar appears.
- When it finishes, that analysis shows as Done on the [Services] card. If there are CRITICAL items, it shows as At risk.
Review results and take action
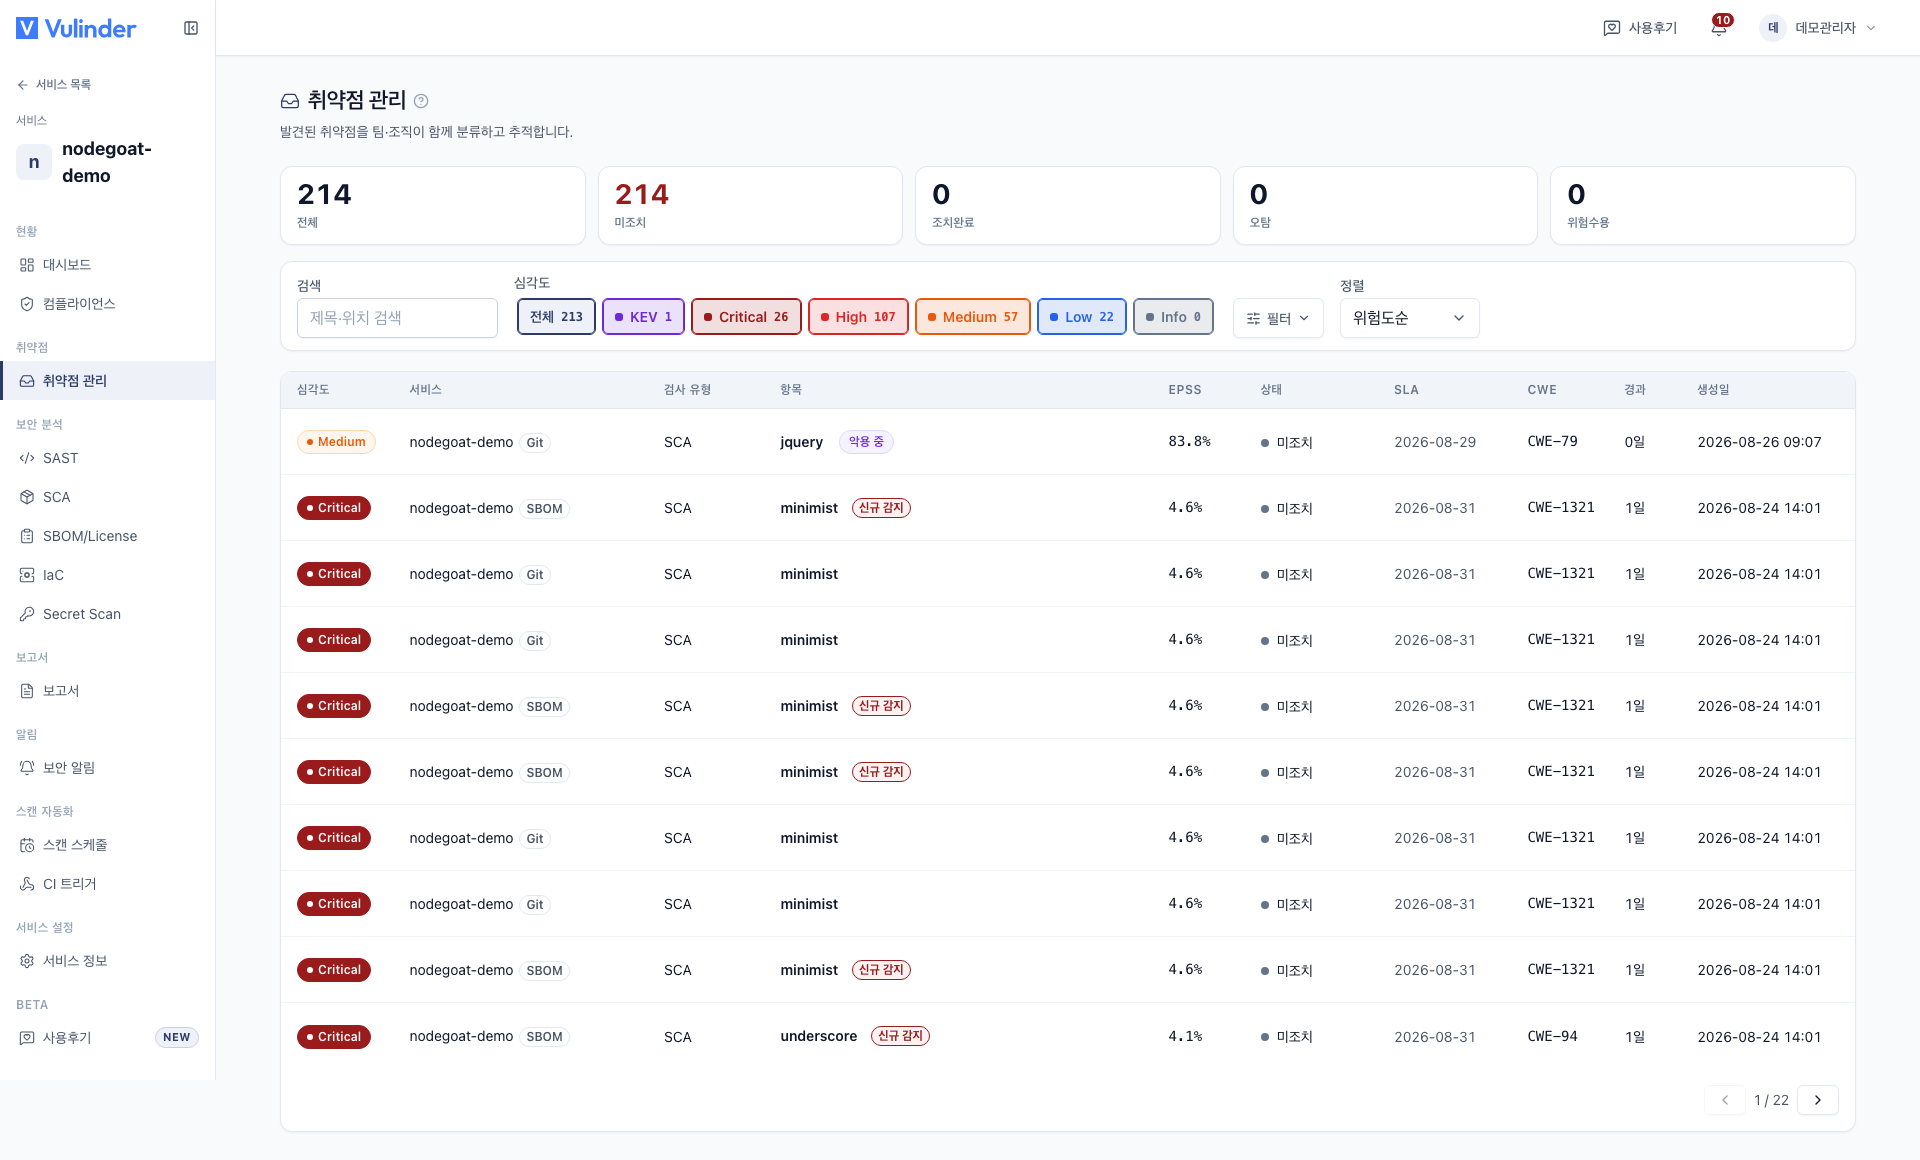
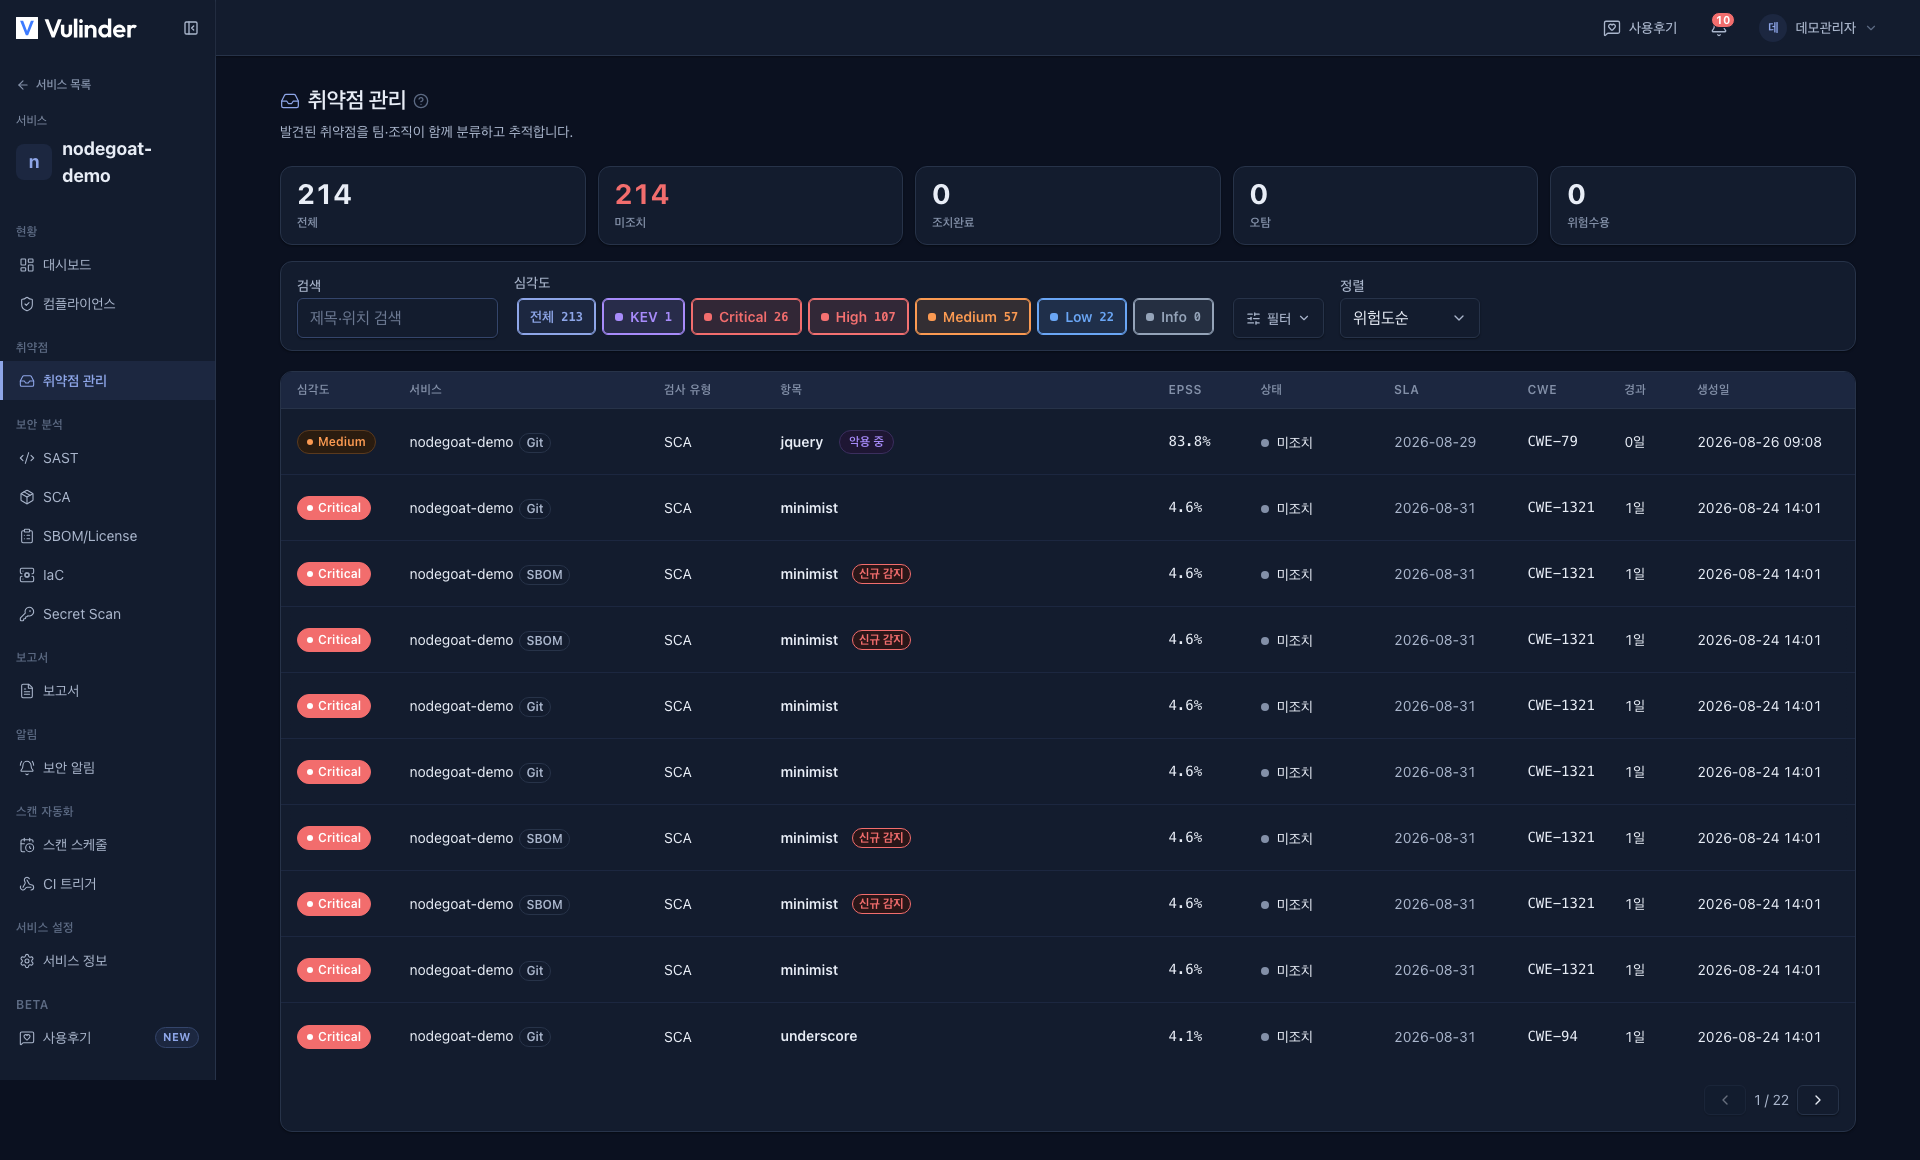
When a scan finishes, the vulnerabilities found are organized by severity.
- Use the Dashboard to see your organization's overall risk at a glance.
- In Vulnerability management (manager or above), review and handle individual items.
- False positive if it is not a real risk
- Accepted risk if you are not addressing it now
- Members open items in each analysis tab to handle them.
- Handling high-severity CRITICAL · HIGH items and KEV (actively exploited) items first is the basic order of remediation.
- Export results as PDF / VEX with Reports.
Related documents
- Source code · Container image · Web service (DAST) · Server / host · SBOM upload · Binary file : Registration and analysis by type
- Members and Roles : Invite teammates and set permissions
- SLA settings : Set remediation deadlines by severity
- Account settings : Manage name, theme, language, and password
- Core concepts : Organizations, services, findings, triage