Quick Start
Follow the entire flow, in order, from sign-up to seeing your first security analysis results. This uses a source code (Git) service as an example, but the flow is the same for other types.
1. Sign up and create an organization
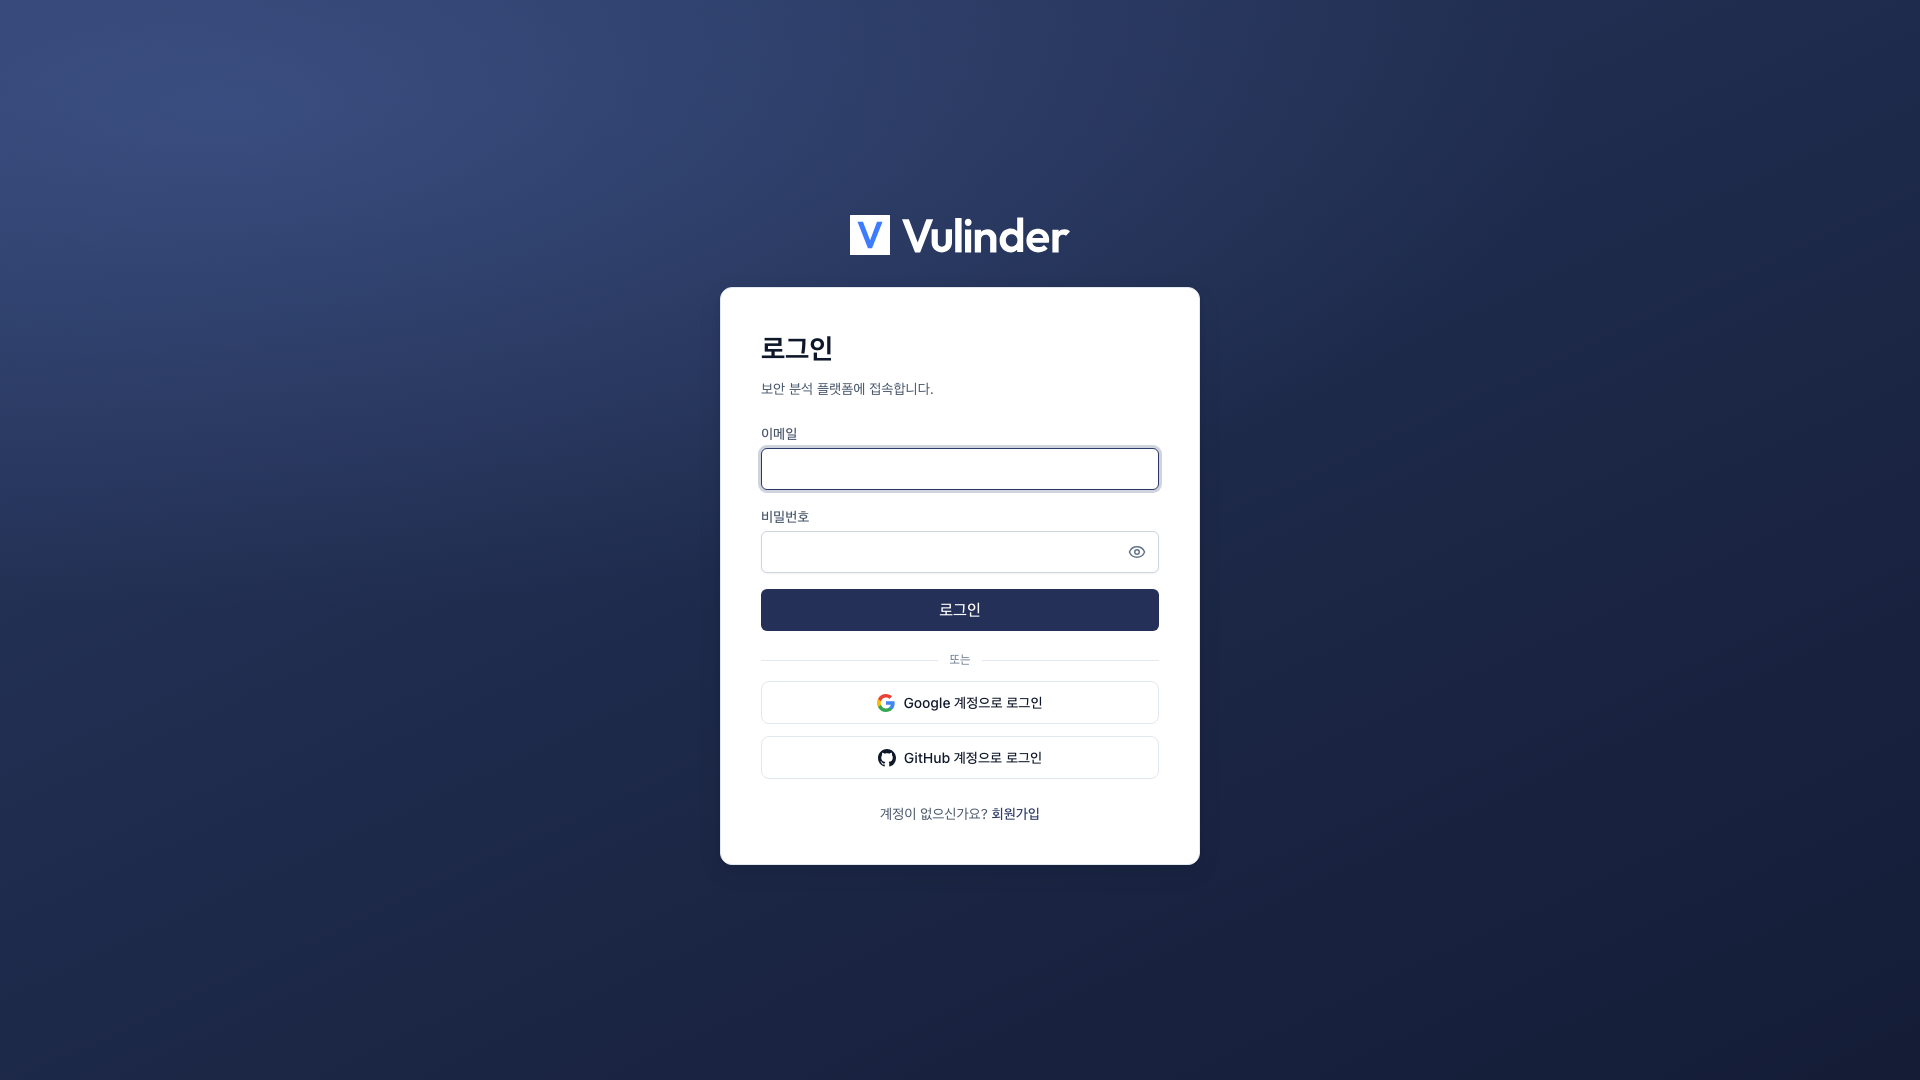
Vulinder manages services and results at the organization level. When you first sign up, you create an organization and become its administrator.
- Create an account with your email and password on the sign-up page. (An invite code may be required during the beta period.)
- Enter an organization name to create a new organization.
- To invite teammates, see Members and Roles. For now, you can proceed on your own.
2. Register a service
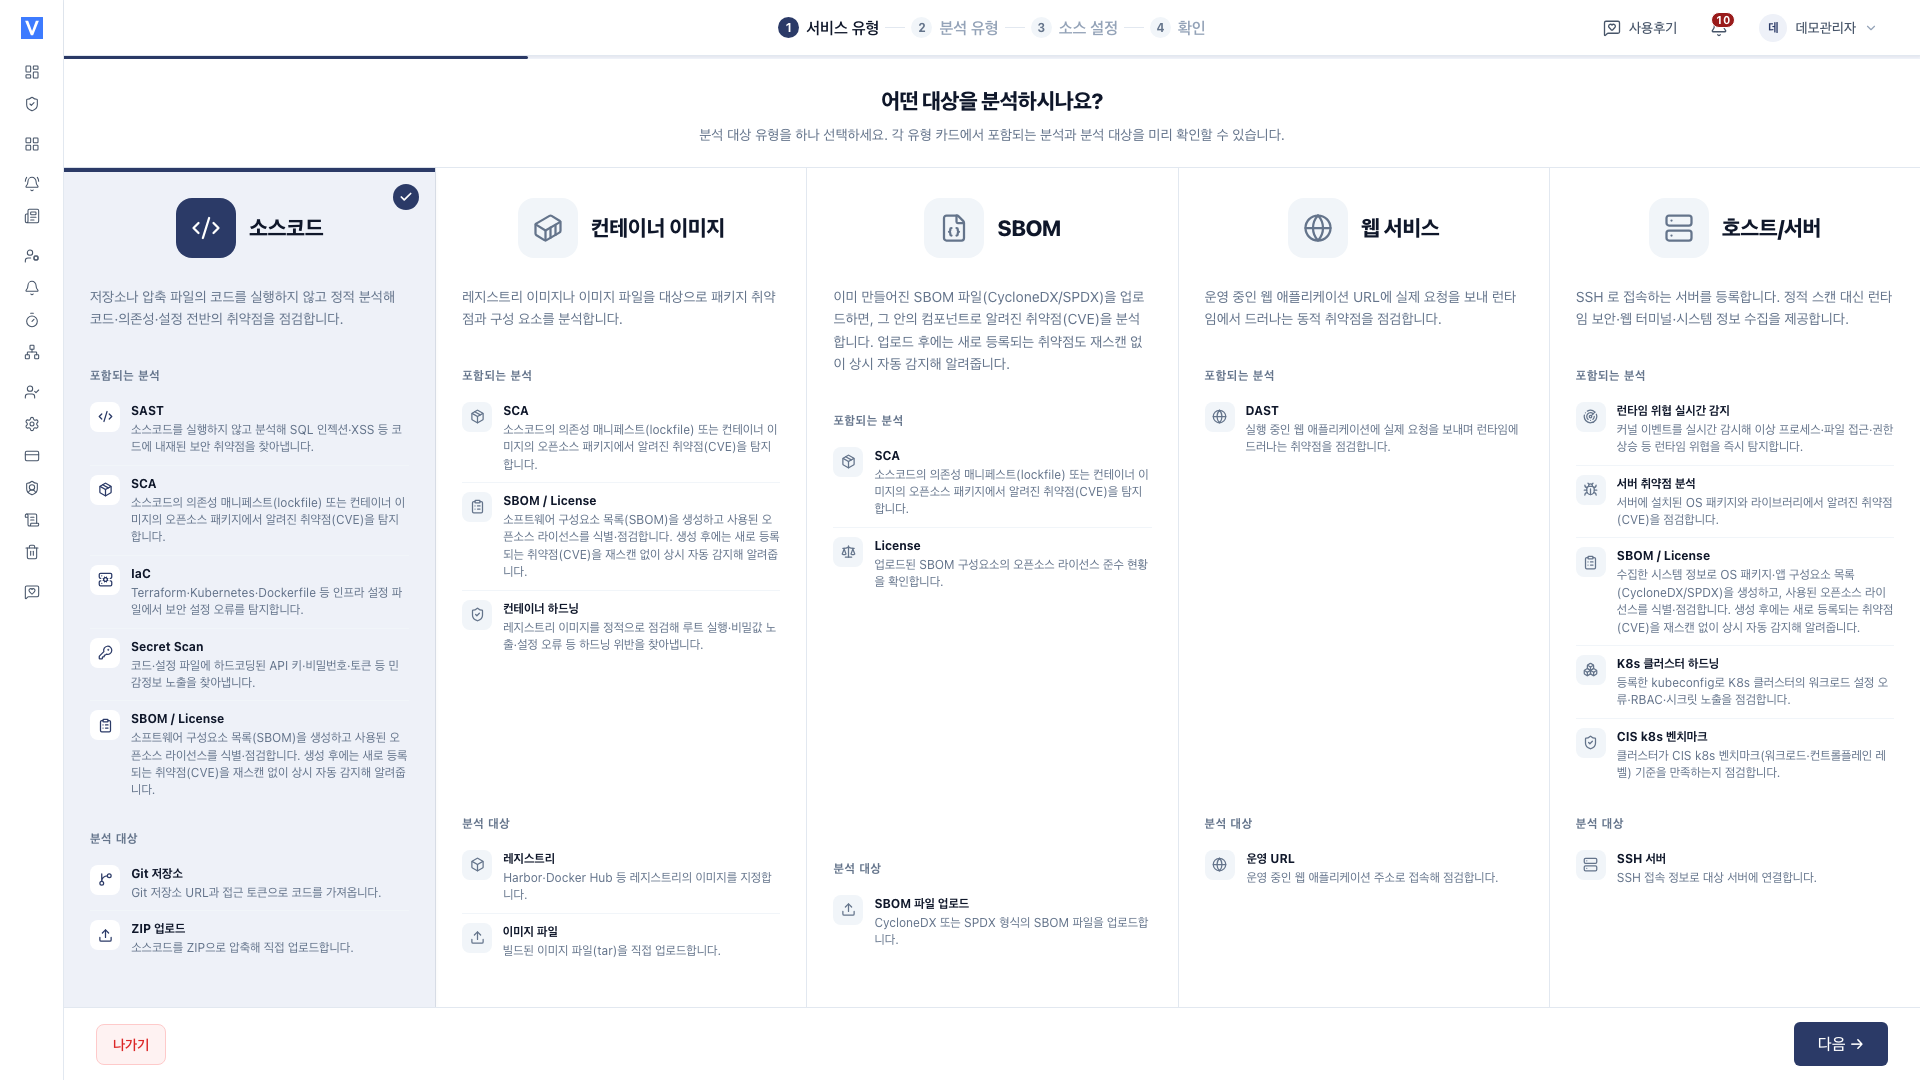
Register the target you want to analyze as a service. Choosing a service type automatically determines which analyses are available.
- On the [Services] page, click Register service.
- Select Source code as the type.
- Enter the repository URL and access token. (For details, see Source code)
- Select the analyses to run (SAST, SCA, Secret, IaC, SBOM, and so on).
For private repositories, a token with read-only (read repository) permission is enough. Saved tokens are stored encrypted and shown masked on screen.
3. Run your first scan
Once you register a service, the first scan starts automatically. Progress is shown in real time.
- Scans run asynchronously, and you receive a notification when they finish. They keep running even if you close the window.
- The progress status changes from Running to Completed.
4. Review results and take action
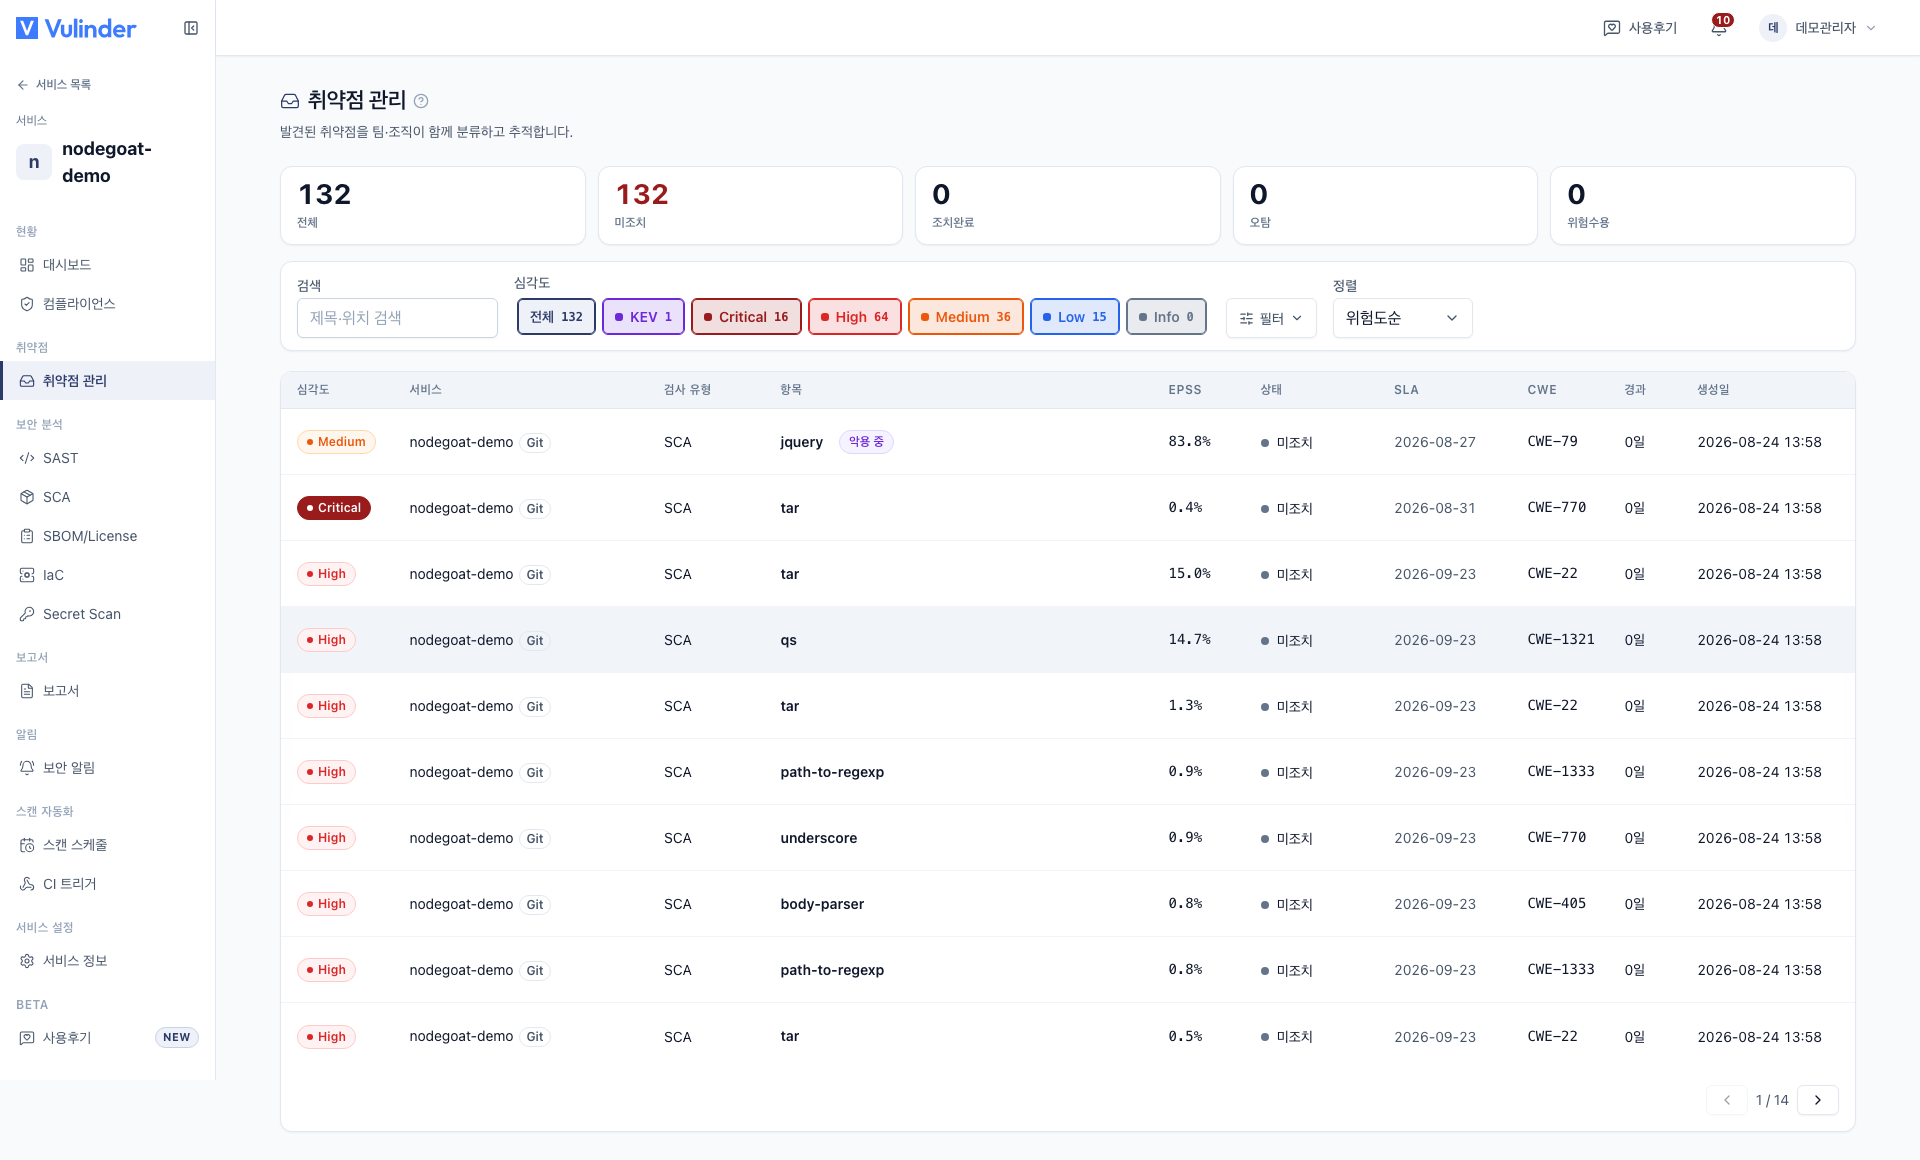
When a scan finishes, the vulnerabilities found are organized by severity.
- Use the Dashboard to see your organization's overall risk at a glance.
- In Triage, review individual items and mark them as false positive if they are not a real risk, or as accepted risk if you are not addressing them now.
- Handling high-severity CRITICAL and HIGH items and KEV (actively exploited) items first is the basic order of remediation.
- Export results as PDF / VEX with Reports.